
Tools
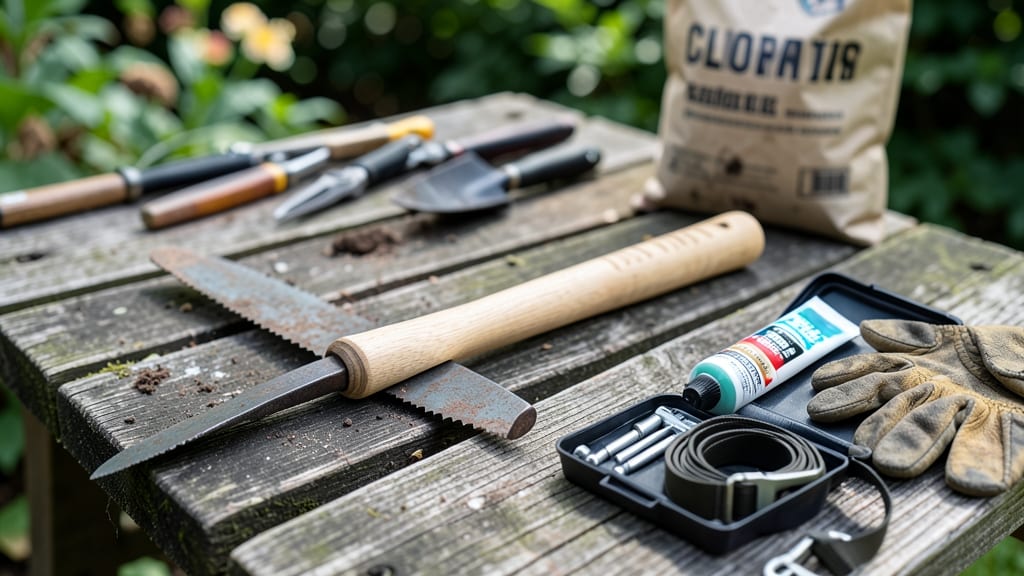
How to identify and prepare for a garden hoe handle replacement
A broken or worn garden hoe handle can make even simple weeding tasks feel impossible. Before rushing to the store, take a few minutes to assess the damage and gather the right tools.
This preparation ensures a smooth replacement process and prevents future frustrations. I’ve replaced handles on standard, offset, and stirrup hoes—here’s what I’ve learned about identifying issues and getting ready.
Start by inspecting your hoe handle for cracks, splinters, or rust. Run your fingers along the length and grip area to check for rough spots or weak points. If the handle is warped or soft to the touch, it’s definitely time for a replacement.
Pay special attention to where the handle meets the head—this is the most common failure point due to constant stress.
Next, determine the type of hoe you’re working with. Standard hoes have straight handles, while offset hoes feature an angled design for better leverage. Stirrup hoes have a looped handle for a firm grip. Knowing your hoe type helps you choose the right replacement handle and fasteners.
Gather your essential tools before starting: a screwdriver or wrench (depending on your hoe’s fasteners), a measuring tape, and a new handle. If you’re unsure about the handle length, bring your old handle to the store for a match.
Safety gear like gloves and goggles is also a good idea, especially if your old handle is rusted or splintered.
Now, let’s walk through the preparation steps in detail:
Inspect the handle for cracks, splinters, or rust. If the handle is bent, soft, or has deep grooves, it’s unsafe to use. Focus on the grip area and connection point—these are the weakest spots.
Use a measuring tape to record the total length and grip diameter. Note the angle of the handle if it’s an offset or stirrup hoe. Write these measurements down or take a photo for reference.
Collect a screwdriver or wrench, new handle, and safety gloves. If your hoe uses bolts or screws, ensure you have the right size. For rusted fasteners, bring a penetrating oil to loosen them.
Verify the new handle fits your hoe head type. Wooden handles require a smooth finish, while fiberglass or aluminum handles often need specific fasteners. Test-fit the handle before securing it to avoid mistakes.
Work on a stable surface, like a workbench or table. Lay down a towel or rag to catch debris, especially if your old handle is rusted. Keep your tools organized to avoid losing screws or bolts during the process.
When handling a rusted or splintered handle, prioritize safety. Wear gloves and goggles to protect your hands and eyes from debris. If the handle is severely rusted, use a wire brush or sandpaper to clean the connection point before attaching the new handle.
This step ensures a secure and long-lasting fit.
If you’re unsure about the fastener type your hoe uses, examine the connection point closely. Most hoes use bolts, screws, or a wedge system. If the fasteners are corroded, apply a penetrating oil and let it sit for 10-15 minutes to loosen them.
This makes removal much easier and prevents stripping the threads.
Before you begin the replacement, take a moment to test the new handle’s balance. Hold it like you would your hoe and check if the weight feels even. A properly balanced hoe reduces strain on your hands and wrists during use.
If the new handle feels too heavy or awkward, consider adjusting your grip technique or choosing a lighter material next time.
Once you’ve completed these steps, you’re ready to remove the old handle and install the new one. The next section will guide you through the actual replacement process, including tips for tightening fasteners and ensuring your hoe is ready for your next gardening session.
With the right preparation, this task becomes quick and hassle-free!
Best garden hoe handle materials and where to buy replacements
Choosing the right garden hoe handle can make all the difference in your weeding efficiency and comfort. The material affects durability, weight, and even how well it grips your hand. Let’s break down the top options to help you pick the best replacement for your needs.
I’ve tested three popular materials: ash wood, fiberglass, and aluminum. Each has unique benefits depending on your gardening style. Ash handles offer a classic feel and natural grip, while fiberglass handles are lightweight and resistant to rot. Aluminum handles are the most durable but can be heavier.
| Material | Durability | Weight | Cost | Best For |
|---|---|---|---|---|
| Ash Wood | High (natural strength) | Medium | $$ | Traditional gardeners, ergonomic grip |
| Fiberglass | Medium (rot-resistant) | Light | $ | Lightweight use, humid climates |
| Aluminum | Very High (rust-proof) | Heavy | $$$ | Heavy-duty work, longevity |
For DIY options, consider repurposing materials like wooden dowels or PVC pipes. A wooden dowel from a hardware store can be sanded and sealed for a budget-friendly solution, while PVC offers a lightweight, rust-resistant alternative. Just ensure the diameter matches your hoe’s shaft.
Where to buy replacements? Home improvement stores like Home Depot or Lowe’s carry pre-made handles, while online marketplaces such as Amazon offer a wider variety. For specialty tools, check out garden supply stores or even farm equipment retailers.
If you’re unsure which material to choose, start with ash wood for a balance of durability and comfort. For long-term use in wet conditions, fiberglass is a great low-maintenance pick. And if you need a handle that lasts decades, aluminum is the way to go.
Remember, the right handle can turn a frustrating chore into a smooth gardening experience. Take your time measuring and testing—your back (and your garden) will thank you! 🌱