
Advice
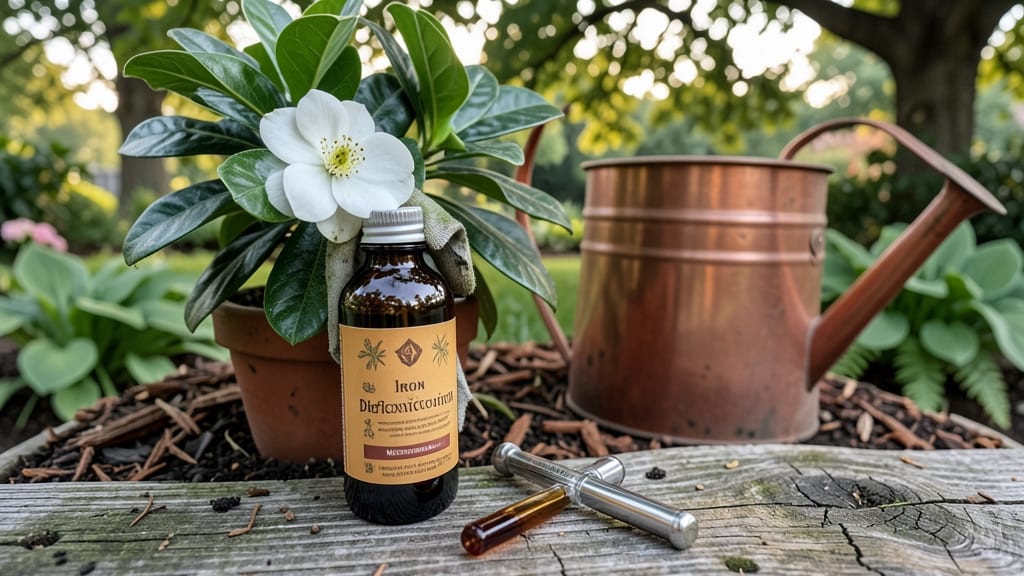
Gardenias need iron to stay vibrant, and chelated iron is the fastest fix for yellowing leaves that ruin their glossy green look.
If your gardenias are losing their luster and turning a pale yellow, you’re not alone—this is a classic sign of iron deficiency, often caused by alkaline soil or poor drainage. The good news? Chelated iron delivers results in as little as two weeks when applied correctly.
Iron deficiency in gardenias happens when the soil pH is too high, locking out this essential nutrient. Without it, your plants struggle to produce chlorophyll, leading to weak growth and fewer blooms. The solution isn’t just about adding iron—it’s about making sure your soil can actually use it.
In this guide, I’ll walk you through diagnosing the problem, choosing the right chelated iron product, and long-term soil fixes to keep your gardenias thriving for years. Let’s get those leaves back to their rich, healthy green!
Why gardenias develop iron deficiency and how to diagnose it
Your gardenias may be silently screaming for help if their leaves are turning yellow while the veins stay green—a classic sign of iron chlorosis. This common issue stems from the plant's inability to absorb iron, even when the soil contains enough of it.
The problem often starts with alkaline soil, which locks iron out of reach, or poor drainage, which prevents roots from accessing nutrients efficiently.
Gardenias thrive in acidic soil (pH 5.0-6.0), but many gardeners unknowingly plant them in soil with a higher pH. Even a slight increase to 7.0 or above can block iron uptake.
Overwatering or compacted soil also worsens the issue by suffocating roots and limiting oxygen flow, which is essential for nutrient absorption.
Diagnosing iron deficiency early saves your gardenias from decline. Start by examining the youngest leaves—if they're yellow with green veins, it's a strong indicator. Check the soil pH using a simple test kit (available at garden centers for under $10).
A reading above 6.5 confirms alkaline conditions, the primary culprit behind iron chlorosis.
For a deeper diagnosis, consider a leaf analysis through your local cooperative extension service. They can test for iron levels and other deficiencies. While waiting for results, look for secondary signs like stunted growth, weak stems, or small, pale buds—all red flags for nutrient starvation.
🌱 Iron chlorosis in gardenias often mimics other issues, so rule out pests, fungal infections, or root rot first. If the yellowing appears only on new growth and the veins remain green, iron deficiency is likely. Avoid jumping to conclusions—sometimes overwatering or nutrient imbalances (like too much nitrogen) mimic these symptoms.
| Symptom | Likely Cause | Diagnosis Method | Quick Fix |
|---|---|---|---|
| Yellow leaves with green veins | Alkaline soil (pH > 6.5) | Soil pH test kit | Apply chelated iron + sulfur |
| Stunted growth | Poor drainage or root stress | Check soil moisture | Improve drainage with organic matter |
| Weak stems | Iron + nitrogen deficiency | Leaf analysis | Fertilize with balanced NPK (8-3-9) |
| Small, pale buds | Chronic iron starvation | Observe new growth | Foliar spray with iron chelate |
Once you confirm iron deficiency, act fast. The first step is adjusting the soil pH. For alkaline soil, mix in elemental sulfur (1-2 lbs per 100 sq ft) or peat moss to lower pH gradually.
Avoid quick fixes like lime—it’ll make the problem worse. Pair this with a chelated iron fertilizer, which binds iron into a form roots can absorb.
For potted gardenias, flush the soil with water to remove excess salts, then repot with fresh, acidic potting mix. Add a handful of pine needles or composted leaves to the mix—they release organic acids that improve iron availability.
Water deeply but avoid soggy soil, as waterlogged roots can’t absorb nutrients even if they’re present.
If your gardenias are in the ground, focus on the root zone. Dig a trench around the plant (6 inches deep) and mix in sulfur and compost.
Water thoroughly to help the amendments spread. Repeat this process every 3-4 months to maintain acidic conditions, especially in hot climates where soil pH can rise quickly.
Monitor your gardenias closely after treatment. Healthy new growth with dark green leaves should appear within 4-6 weeks. If symptoms persist, consider a professional soil test—sometimes micronutrient deficiencies (like manganese or zinc) mimic iron chlorosis.
Patience is key; restoring iron balance takes time, but with the right approach, your gardenias will bloom beautifully again.
🌿 Remember: Prevention is easier than cure. Test your soil annually, especially if you live in an area with naturally alkaline conditions. A little proactive care now means fewer yellow leaves—and more fragrant blooms—later.
Best chelated iron fertilizers for gardenias: types and application guide
When your gardenias show signs of iron deficiency—like yellowing leaves with green veins—you need a chelated iron fertilizer that delivers fast results. These products bind iron to organic molecules, making it soluble and available for plants to absorb, even in alkaline soils.
The two main types, liquid chelates and granular chelates, each have unique benefits and application methods.
Liquid chelated iron, like Iron Chelate 138 or Sequestrene 138, is ideal for quick fixes because it dissolves instantly in water. Granular forms, such as Iron Chelate 138 Granules, release nutrients slowly over time, making them better for long-term soil enrichment.
Your choice depends on how fast you need results and whether you prefer soil drenching or foliar spraying.
For foliar spraying, mix your liquid chelated iron with water (follow label instructions) and apply it to the leaves using a spray bottle or pump sprayer. Focus on the undersides of leaves where iron uptake is most efficient.
Always spray in the early morning or late afternoon to avoid leaf burn from direct sunlight. I’ve found that adding a few drops of dish soap (1 tsp per gallon) helps the solution stick to the leaves better.
If you prefer soil drenching, water the soil thoroughly before applying the chelated iron solution to the root zone. This method is best for granular products or when you’re treating multiple plants.
For potted gardenias, dilute the fertilizer in water and pour it directly into the soil until it drains from the bottom. Repeat every 4-6 weeks during the growing season to maintain iron levels.
Avoid overapplying chelated iron, as excess can harm your gardenias. Start with half the recommended dose and monitor your plants for improvement. If you notice new growth with dark green leaves within 2-3 weeks, you’re on the right track!
For severe deficiencies, combine foliar spraying with soil drenching for faster results. Always store chelated iron products in a cool, dry place away from children and pets.
Remember, chelated iron is just a temporary fix. To keep your gardenias thriving, focus on long-term soil health by adjusting pH levels and improving drainage. With the right product and application method, your gardenias will regain their luster in no time! 🌿