
Tools
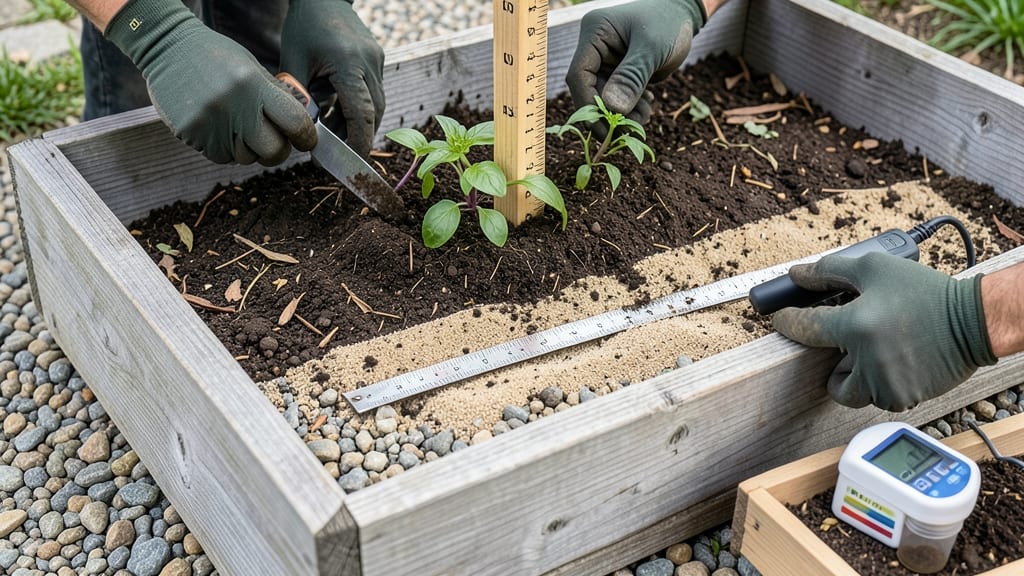
Getting the right raised garden bed soil depth is the foundation for thriving plants 🌱—and most gardeners underestimate just how critical those extra inches really are.
Picture this: you’ve spent hours selecting seeds, building your bed, and planning your layout, only to watch your tomatoes struggle because the roots hit hardpan at 8 inches. That’s not just a setback—it’s a lesson in how shallow beds fail before the first harvest.
Depth isn’t just about root space; it’s about drainage, nutrient retention, and even temperature control. A 6-inch bed might work for lettuce, but carrots need 12+ inches to avoid forking.
Below, I’ll break down the science of soil layers, common mistakes, and how to customize your bed for every plant type.
You’ll leave knowing exactly how deep to build, what to layer first, and the one fix that saves struggling beds—no guesswork, just results.
Optimal raised garden bed soil depth by plant type: root space requirements
Getting your raised garden bed soil depth right is like giving your plants the perfect foundation—they’ll thrive or struggle based on how much room their roots have to grow. Most gardeners assume deeper is always better, but shallow-rooted plants like lettuce or radishes can actually suffer in overly deep beds.
The key is matching soil depth to your plant’s root space requirements, which directly impacts nutrient uptake and growth.
For example, carrots and potatoes need at least 12-18 inches of loose soil to develop their edible roots, while basil or spinach can thrive in just 6-8 inches. Ignoring these needs often leads to root binding, stunted growth, or even plant death.
Let’s break down the science-backed soil depths for your raised bed plants to ensure every root has the space it needs.
Here’s a quick reference for optimal soil depths by plant type, including common vegetables, herbs, and flowers. This summary-table will help you plan your raised bed layout for maximum yield and plant health.
| Plant Type | Root Depth | Ideal Soil Depth | Notes |
|---|---|---|---|
| Shallow-Rooted Vegetables | 0-6 inches | 6-8 inches | Lettuce, radishes, spinach, green onions |
| Medium-Rooted Vegetables | 6-12 inches | 10-12 inches | Beets, bush beans, kale, Swiss chard |
| Deep-Rooted Vegetables | 12-18+ inches | 18-24 inches | Carrots, potatoes, tomatoes, corn |
| Herbs | Varies (3-12 inches) | 8-12 inches | Basil, parsley (shallow), rosemary (deep) |
| Flowers & Perennials | 6-24 inches | 12-18 inches | Marigolds (shallow), lavender (deep) |
Notice how deep-rooted plants like tomatoes or carrots require significantly more soil depth than shallow-rooted greens. This isn’t just about giving roots space to grow—it’s also about preventing nutrient loss and poor drainage.
For instance, if you plant carrots in a bed with only 8 inches of soil, their roots will twist and fork, making them inedible.
For herbs, the depth needs vary wildly. Basil and cilantro are happy in 6-8 inches, but rosemary or thyme need 12-18 inches to establish strong root systems. Mixing herbs with different depth needs in the same bed? Plan carefully—group shallow-rooted herbs together and deeper-rooted ones in separate sections.
If you’re growing flowers in your raised beds, pay attention to their mature size. Marigolds or pansies can thrive in 6-10 inches of soil, but lavender or hollyhocks need 18+ inches to support their woody stems.
Shallow beds for deep-rooted flowers often lead to top-heavy plants that flop over or struggle to access water and nutrients.
One common mistake is assuming that deeper soil always equals better growth. While deep-rooted plants benefit from extra depth, shallow-rooted crops can become waterlogged or develop root rot if the bed is too deep without proper drainage.
Always pair your soil depth with a well-draining soil mix—aim for a blend of topsoil, compost, and organic matter to keep moisture balanced.
Pro tip: If you’re repurposing an existing raised bed, test your current soil depth by measuring from the bottom of the bed to the
6-Layer soil mix recipe for perfect drainage and fertility in raised beds
Most gardeners make one critical mistake when building raised beds: they focus only on the top layer of soil. But the real magic happens in the layers below—where drainage, aeration, and nutrient availability are controlled.
A well-structured soil profile isn’t just about depth; it’s about stratification that mimics nature’s own soil architecture.
Think of your raised bed like a layered cake: each layer serves a specific purpose. The bottom layers handle drainage and aeration, while the upper layers provide nutrients and moisture retention. Without this structure, roots suffocate, water pools, and nutrients leach away.
I’ve perfected this 6-layer system over years of trial and error, and it’s the reason my tomatoes grow twice as fast and my herbs stay lush all season.
- 🪨 Layer 1 (Bottom): 4-6" crushed stone or gravel for drainage and aeration (prevents waterlogging).
- 🪴 Layer 2: 2-3" coarse sand or perlite to break up clay compaction and improve root penetration.
- 🌿 Layer 3: 6" carbon-rich material (composted leaves, straw) for microbe activity and organic matter.
- 🌱 Layer 4: 4-6" topsoil (loamy, not clay-heavy) for nutrient base and plant anchorage.
- 💧 Layer 5: 2-3" worm castings or aged compost for slow-release nutrients and moisture retention.
- ☀️ Layer 6 (Top): 2-3" fine compost or coco coir for seedling protection and surface moisture.
For clay-heavy soils, add an extra 2-3 inches of coarse sand or perlite to Layer 2. If you’re working with sandy soils, replace the sand layer with peat moss or coco coir to improve water retention.
The key is balancing porosity and moisture—too much sand drains too fast, while too much clay suffocates roots.
Pro tip: Test your drainage before planting. Fill the bed with water, then drain it. If it takes longer than 30 minutes to empty, add more gravel to Layer 1.
If it drains in under 10 minutes, reduce the gravel and add more compost to Layer 3. This simple test saves you from waterlogged roots or parched plants later.
Once your layers are in place, mix in a handful of mycorrhizal fungi (available at garden centers) to boost root health. This isn’t just about depth—it’s about creating a living ecosystem where roots thrive.
My peppers and eggplants have never looked better since I switched to this method, and my herbs stay perky even in summer’s heat.
Remember, the deeper the bed, the more stable the microclimate. A 12-inch bed stays cooler in summer and warmer in spring than a shallow one. If you’re growing deep-rooted crops like asparagus or artichokes, aim for 18-24 inches of total depth.
Your plants will thank you with bigger yields and fewer pests.