
Tools
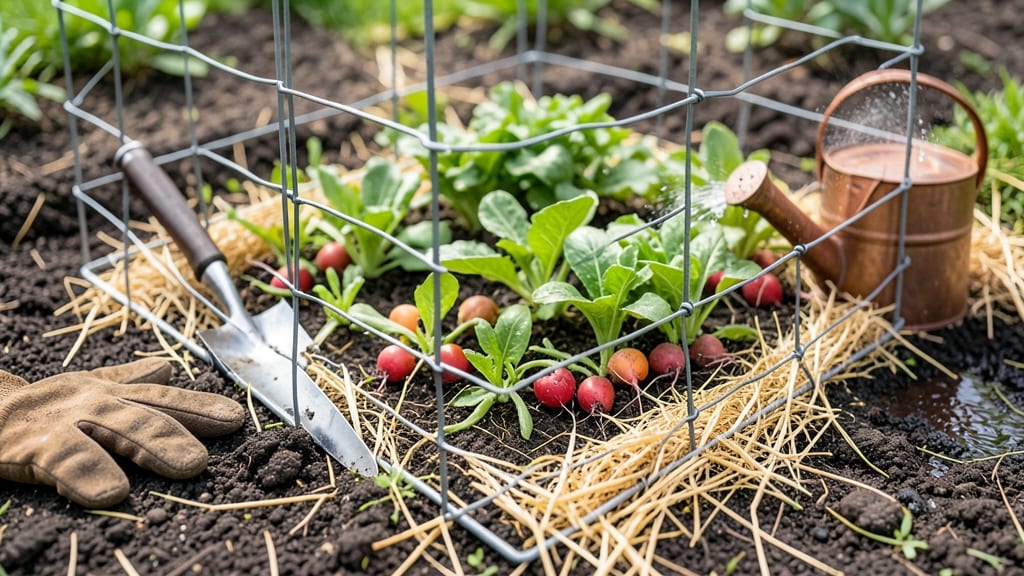
A chicken wire vegetable garden can be your secret weapon against hungry critters while keeping your space organized and productive.
Picture this: you’ve spent weeks planting your 🥕 General Vegetable Garden—carrots, lettuce, and tomatoes—only to wake up one morning and find half of it vanished. Rabbits, deer, or even neighborhood dogs can turn a thriving garden into a buffet overnight.
But what if you could protect your crops without sacrificing precious growing space? That’s where chicken wire comes in, offering a flexible, budget-friendly solution that works for gardens big and small.
Beyond just keeping pests out, chicken wire transforms how you use your garden. Need more vertical space? A simple trellis can turn climbing beans and cucumbers into a lush, space-saving display. Want to create raised beds that double as protective cages?
Chicken wire can do that too. The key is using it strategically—whether as a perimeter barrier, a trellis, or even a temporary shield for young seedlings.
In this guide, you’ll discover three creative layouts that maximize protection while keeping your garden tidy and efficient.
Plus, I’ll share tips on installation, when to use chicken wire vs. hardware cloth, and how to blend it seamlessly into your garden design—so your veggies stay safe and your space stays beautiful.
3 Space-saving chicken wire vegetable garden layouts for small yards
When space is limited but your gardening dreams are big, chicken wire becomes your secret weapon. This versatile material can transform your small yard into a pest-proof vegetable paradise without sacrificing precious square footage. The key?
Smart layouts that maximize vertical space, create protective cages, or form sturdy barriers—all while using minimal wire. I’ve designed three layouts that work for rabbits, deer, and even neighborhood dogs, each with unique benefits for different garden types.
For small urban gardens, a vertical trellis system lets you grow cucumbers, beans, and peas upward, freeing up ground space for root crops. In suburban backyards, a raised bed cage protects lettuce, kale, and carrots from ground-level pests while keeping the soil contained.
Meanwhile, in-ground perimeter barriers work best for larger plots where you need to shield entire sections from foraging animals. Each layout uses 19-gauge chicken wire (the most common for gardening) but can be adjusted based on your biggest threats.
Here’s how these three layouts compare at a glance—pick the one that matches your garden’s biggest challenge: space constraints, pest pressure, or soil quality.
The vertical trellis is my go-to for balcony gardens or patios where every inch counts. Start with 4-foot tall T-posts spaced 3 feet apart, then wrap 19-gauge chicken wire in a zigzag pattern from the bottom to the top.
This creates a diagonal barrier that confuses rabbits and keeps them from jumping over. Pair cucumbers (which need vertical support) with bush beans (which stay low) to maximize space. For extra durability, add a second layer of wire at the base to deter digging.
For raised bed cages, the secret is overlapping layers. Build a 4x8-foot raised bed with untreated wood, then line the inside with hardware cloth (for durability) before adding the chicken wire cage on top. This two-layer defense stops both above-ground foragers and digging pests.
Plant leafy greens like kale along the edges (where they’ll get partial shade) and carrots in the center. Pro tip: Leave 6-inch gaps between the wire and soil to prevent root strangulation.
If your garden is prone to deer or large animals, an in-ground perimeter barrier is your best bet. Bury 12 inches of chicken wire along the outer edge of your planting area, then bend it outward at a 45-degree angle for the top 18 inches.
This L-shaped design prevents animals from digging under or climbing over. For tomato plants, add stakes inside the wire to support vines while keeping the fruit off the ground. This layout works best for larger gardens where you can dedicate a full border to protection.
One of the biggest mistakes I see? Using too flimsy a gauge of wire. 19-gauge is ideal for most gardens—it’s flexible enough to bend but sturdy enough to deter pests. For extra security, reinforce corners with galvanized staples or zip ties to prevent sagging.
And always leave room for expansion: Plants grow, and so will your garden’s needs. If you’re planting fast-spreading vines like pumpkins, add removable wire panels that you can adjust as the season progresses.
Companion planting is another game-changer with these layouts. In your vertical trellis, pair cucumbers (which love climbing) with nasturtiums (which repel pests). In raised bed cages, interplant carrots with onions—the strong scent of onions confuses carrot flies.
For perimeter barriers, marigolds along the wire edge deter rabbits while adding beauty. These pairings reduce the need for pesticides and make your garden more resilient.
Don’t let limited space stop you from growing your dream vegetable garden. With these three chicken wire layouts, you can protect your plants, maximize every inch, and enjoy a bountiful harvest—no matter how small your yard.
Start with one layout this season, then expand as your confidence (and garden!) grows.
How to install chicken wire without damaging plants or soil
Installing chicken wire in your vegetable garden can deter pests without harming your plants—if you do it right. The key is using gentle attachment methods and proper anchoring techniques that protect both roots and soil structure.
Unlike rigid materials, chicken wire bends with plant growth, but improper tension or sharp edges can still cause damage. Let’s break down the safest way to install it while keeping your garden thriving.
Before you start, choose the right gauge of chicken wire—19-gauge (1-inch mesh) works for most vegetable gardens, while 16-gauge offers extra durability for high-traffic areas. Avoid sharp wire edges by bending them outward with pliers or using pre-bent wire designed for gardening.
This small step prevents cuts to plant stems or your hands during installation.
Step-by-Step Installation Guide
- 1 Measure and Mark: Outline your garden area with stakes or spray paint. For raised beds, measure the perimeter and corners. Use a level to ensure straight lines, especially for perimeter barriers.
- 2 Bend Wire Edges: Use needle-nose pliers to bend all wire edges outward at 90-degree angles. This prevents snagging on plant vines or digging tools. For extra safety, wrap edges with plastic tubing or duct tape.
-
3
Anchor Securely:
- Loose soil: Drive T-posts every 3–4 feet and loop wire around them.
- Clay soil: Bury concrete anchors or use landscape staples to secure wire without digging.
- Raised beds: Staple wire to the bed frame or wrap it around bending wire attached to bed corners.
- 4 Tension Gently: Stretch the wire firmly but not taut—enough to deter pests but loose enough to avoid root strangulation. For vertical supports, use soft ties (like twist ties) to attach plants to the wire without cutting into stems.
-
5
Protect Plant Attachment Points:
- Use soft plant ties or velcro strips to secure vines to the wire.
- For delicate stems (like cucumbers or peas), wrap wire with burlap strips before tying.
- Avoid direct wire contact with stems—always use a buffer.
- 6 Monitor and Adjust: Check wire tension every 2–3 weeks and adjust as plants grow. If wire sags, add support stakes in the center. Trim any wire that rubs against plant foliage to prevent abrasions.
For root vegetables like carrots or radishes, avoid burying chicken wire—it can disrupt soil aeration and root growth. Instead, create a surface barrier by laying the wire flat on the soil and securing it with landscape pins. This keeps pests out while allowing roots to expand freely below.
If you’re protecting young seedlings, opt for a low-profile wire cage (12–18 inches tall) instead of a full perimeter barrier. This method saves space and reduces the risk of wire damage to tender shoots. Pair it with row covers for extra protection during early growth stages.
With these techniques, your chicken wire vegetable garden will stay pest-free without sacrificing plant health or soil integrity. The secret? Flexibility and foresight—adjusting as your garden grows ensures long-term success. Happy gardening! 🌱