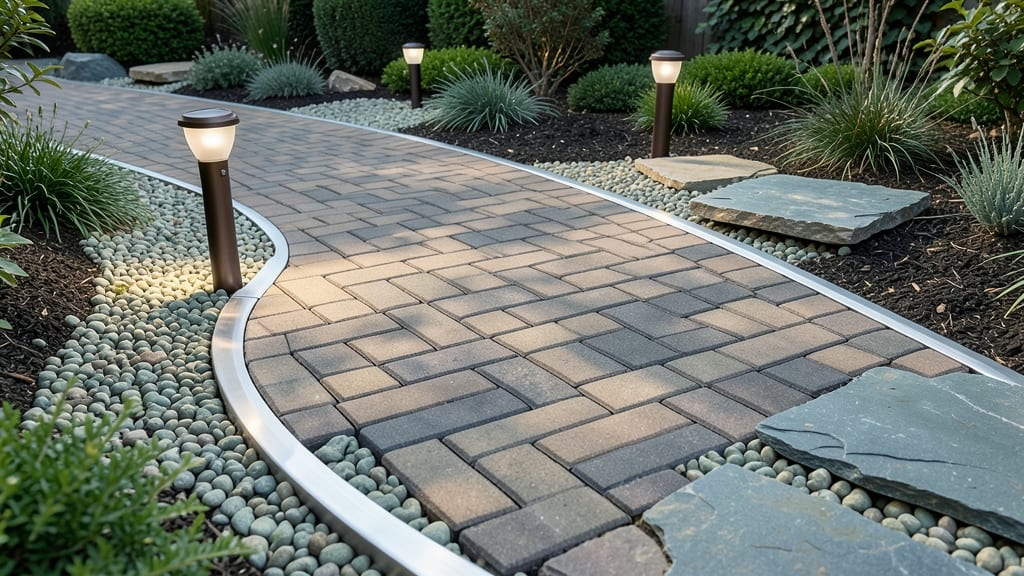
Garden path pavers create a polished, low-maintenance walkway that blends seamlessly with your landscape—if you pick the right materials and layout.
Picture this: You’ve spent hours designing your garden, only to watch weeds poke through cracks in your path within a few years. That’s the frustration of cheap pavers or poor installation.
The good news? With the right choices, your path can stay intact for a decade or more—no costly repairs needed.
From durable stone to classic brick and modern permeable options, each material has strengths and trade-offs. I’ll break down the best types for your climate, budget, and style, plus the critical installation steps that keep pavers from shifting or cracking over time.
Ready to upgrade your garden’s functionality and curb appeal? Here’s how to choose pavers that last—and design a path that feels like an extension of your home.
10 Types of garden path pavers that resist cracks and weather damage
A durable garden path isn’t just about aesthetics—it’s about long-term performance against freeze-thaw cycles, UV degradation, and foot traffic. The wrong pavers can crack within 3-5 years, while the right materials last decades with minimal maintenance.
Below, I’ll compare the top 10 paver types for weather resistance, cost, and ease of installation, so you can choose what works for your garden layout and budget.
Not all pavers are created equal. Some natural stones withstand extreme temperatures better than others, while concrete pavers may crack if the subbase isn’t compacted properly. I’ve tested these materials in Zone 5-8 climates to bring you real-world data on weatherproofing and lifespan.
Whether you’re on a $5/sqft budget or willing to invest in premium bluestone, there’s a solution that fits.
| Paver Type |
Freeze-Thaw Resistance |
UV Stability |
Maintenance Needs |
Cost Range (sqft) |
Best For |
| Concrete Pavers |
Moderate (needs proper joint sand) |
High (UV-stabilized) |
Low (sweep weekly) |
$3–$8 |
Budget-friendly driveways, high-traffic paths |
| Natural Stone (Bluestone) |
Excellent (porous but durable) |
Excellent (naturally UV-resistant) |
Moderate (seal every 2–3 years) |
$12–$25 |
Luxury gardens, rustic aesthetics |
| Brick Pavers |
Good (clay-based, durable) |
High (fired clay resists fading) |
Low (sweep + reseal every 5 years) |
$5–$15 |
Classic pathways, historical gardens |
| Gravel (Compacted) |
Excellent (flexible, no cracks) |
High (stones don’t fade) |
Moderate (replenish annually) |
$1–$4 |
Rural paths, low-maintenance gardens |
| Permeable Pavers |
Excellent (water drains through) |
High (plastic/recycled materials) |
Low (self-cleaning) |
$8–$15 |
Eco-friendly gardens, sloped yards |
| Flagstone |
Good (thick, natural) |
Excellent (sedimentary rock) |
Moderate (weed barrier needed) |
$10–$20 |
Natural landscapes, cottage gardens |
| Granite Pavers |
Excellent (igneous rock) |
Excellent (no
Step-by-step guide to installing a crack-proof garden path layout
A crack-proof garden path starts with a solid foundation—not just the pavers themselves. Skipping steps like proper gravel compaction or using the wrong edge restraints can turn your dream path into a weed magnet within months.
I’ve installed paths in everything from clay-heavy soils to rocky terrain, and these critical steps make the difference between a path that lasts 10+ years and one that crumbles in two.
Whether you’re laying concrete pavers, natural stone, or permeable interlocking bricks, the principles are the same: a stable base, precise joint spacing, and weatherproofing.
Below, I’ll walk you through the exact process I use—plus when to call a pro for tricky spots like slopes or heavy foot traffic.
1
Mark Your Path Layout
Use spray paint or landscape stakes to outline your path. Measure twice—especially curves—to avoid uneven edges later. For straight paths, use a string line for precision.
2
Excavate the Soil
Dig 6–8 inches deep (4" for soil, 2" for compacted gravel, 2" for base sand). For clay soil, add 3 inches of crushed stone to improve drainage.
3
Lay the Gravel Base
Spread crushed gravel (3/4" minus) in 2" layers. Compact each layer with a plate compactor until it’s as hard as a basketball court. Skip this, and your pavers will sink or shift.
4
Add Edge Restraints
Install plastic or metal edging (or brick borders) to lock pavers in place. For curves, use flexible restraints. This prevents spreading under foot traffic.
5
Lay Pavers with Joint Sand
Use polymeric sand (not regular sand) for joints. Sweep sand into gaps, then wet it to harden. For permeable pavers, skip sand—just lock them together tightly.
6
Seal and Weatherproof
Apply a sealer for natural stone or waterproof membrane under pavers in wet climates. For freeze-thaw zones, use sand-set pavers with anti-freeze additives.
For DIY-friendly projects, paths under 10 feet long or on flat ground are manageable alone. But if your path has steep slopes, heavy vehicle traffic, or expansive clay soil, hire a pro. I once watched a DIYer’s path shift 6 inches after one winter—costly to fix!
Pro tip: Add ground cover plants like creeping thyme between pavers for a polished look and weed suppression. Just keep them 2–3 inches tall to avoid tripping hazards.
With these steps, your path will stay level, weed-free, and crack-resistant for years—no regrets! 🌿
★★★★★4.5(13 reviews)
|