
Picking
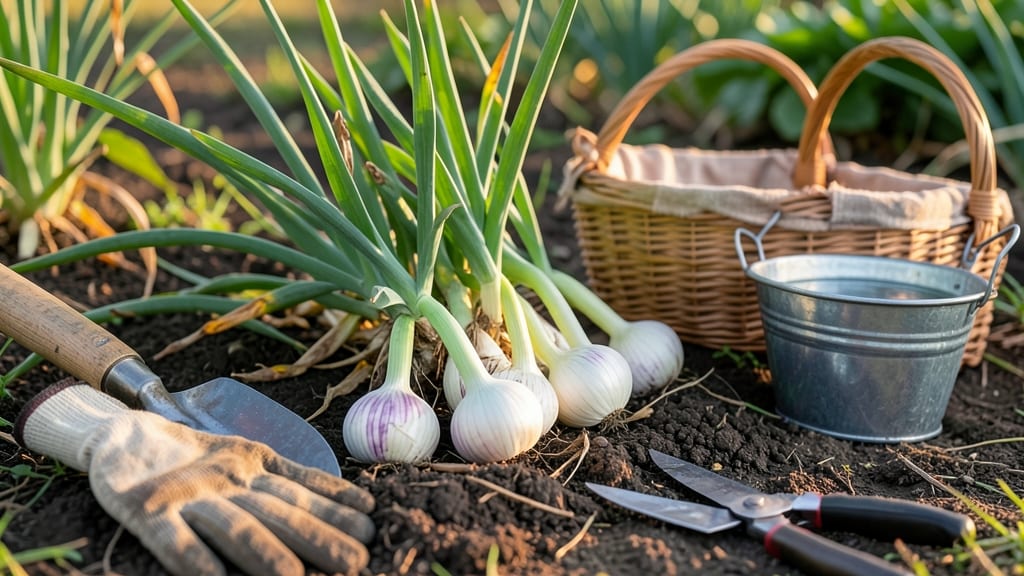
Harvesting shallots from your garden at the right time means the difference between plump, flavorful bulbs and shriveled disappointment.
If you’ve ever pulled up a shallot too early and found it still small and underdeveloped, or waited too long and watched the tops turn brown and brittle, you know how quickly things can go wrong. 🧅
Shallots are ready to harvest between July and September, when the foliage starts yellowing and the bulbs feel firm beneath the soil. But timing isn’t the only trick—how you lift and handle them matters just as much.
In this guide, I’ll walk you through the exact signs to watch for, the best techniques for digging without damage, and how to store your harvest so it lasts all winter.

When to harvest shallots: signs your garden harvest is ready
Timing your shallot harvest correctly is the difference between sweet, flavorful bulbs and bland or rotting ones. Unlike onions, shallots don’t store well after harvest, so knowing exact signs of readiness ensures you get the most from your garden.
The best time to harvest shallots is typically 90-150 days after planting, but visual cues matter more than days alone.
First, watch your shallot foliage. When about 50-60% of the tops turn yellow and begin to flop over, that’s your first clue. This yellowing signals the plant is redirecting energy from leaves to bulb development.
If you wait until 100% yellowing, you risk bulbs splitting or rotting in the ground, especially in humid climates.
Next, check the bulb size and firmness. Gently squeeze the soil around the base—if you feel firm, round bulbs about 1-2 inches in diameter, they’re ready. Smaller bulbs won’t have developed full flavor, while larger ones may have already started to break down.
Pro tip: Dig up one test bulb to check—if it’s fully formed with dry outer skin, your harvest window is open.
| Sign | Description | Action |
|---|---|---|
| Leaf Color | 50-60% of tops turn yellow-brown and flop | Harvest within 3-5 days to avoid overripening |
| Bulb Firmness | Bulbs feel firm and solid when squeezed | Dig carefully to avoid bruising |
| Skin Texture | Outer skin is dry and papery | Cure immediately in dry, shaded area |
| Seasonal Cue | Late summer to early fall (July-September in most zones) | Avoid harvesting after first frost (bulbs won’t mature) |
| Bulb Size | 1-2 inches in diameter (smaller = underdeveloped) | Smaller bulbs can be left to mature longer |
Seasonal timing also plays a crucial role. In USDA Zone 6a, aim for harvest between late July and early September. If you’re in a cooler climate, push harvest toward the earlier end of this window—shallots won’t tolerate frost.
Conversely, in warmer zones, you might extend harvest into October, but stop before nighttime temps drop below 50°F (10°C).
One of the biggest mistakes gardeners make is waiting too long. If you see fully yellow, crispy foliage and the bulbs feel soft or hollow when squeezed, you’ve missed the window. Overripe shallots split easily and rot quickly, even in storage.
For best flavor and storage life, harvest when bulbs are firm but tops are just starting to yellow—this balance is key.
Don’t ignore the neighboring bulbs in your patch. If most plants show the same signs—yellowing tops and firm bulbs—it’s time to harvest the entire batch. Shallots mature unevenly, so check multiple plants to avoid harvesting some too early or too late.
A quick soil check with your fingers can reveal whether bulbs are ready without digging up the whole bed.
For organic gardeners, consider harvesting on a dry, sunny day to minimize disease risk. Wet soil can lead to rot during digging, so avoid harvesting after rain.
If you must harvest after wet conditions, let the soil dry out for 24 hours first. This small precaution can save your entire harvest from spoilage.
Proper timing also affects flavor development. Shallots harvested at peak ripeness have intense, sweet-onion flavor with a mild pungency. Underripe bulbs taste bland and watery, while overripe ones develop a harsh, bitter taste.
To test readiness, peel back the outer layers of a test bulb—if the inner layers are white and firm, you’re golden.
If you’re unsure whether your shallots are ready, use the "finger test". Gently brush away soil around the bulb base and press your thumb into the bulb.
If it leaves a shallow, firm impression (like pressing a ripe avocado), it’s harvest-ready. A deep dent or mushy feel means it’s past its prime.
Remember, shallots are perennial in warm climates, but they’re typically grown as annuals for harvest. If you’re in a mild-winter zone, you might get a second harvest the following year, but bulbs will be smaller.
For maximum yield, focus on timing your first harvest perfectly in the initial growing season.
Step-by-step guide to harvesting shallots without damaging bulbs
Once your shallots show those telltale signs of readiness—yellowing tops and firm bulbs—it’s time to act. The way you harvest makes all the difference between a perfectly preserved crop and one that spoils before you can use it.
I’ve learned the hard way that rough handling leads to bruised bulbs, which rot faster.
Start by choosing a dry, sunny day for harvesting. Wet soil sticks to bulbs, making them more prone to disease. If rain is in the forecast, wait until conditions improve. The goal is to lift clean, intact bulbs that store well for months. Here’s exactly how to do it:
How to Harvest Shallots Safely
- 1 Gently loosen the soil around each plant with a hand fork or trowel. Work slowly to avoid piercing the bulbs.
- 2 Lift bulbs carefully by grasping the base of the stalk and pulling upward. Resist the urge to yank—this can snap off the bulb.
- 3 Shake off excess soil but avoid rubbing bulbs together. Use a soft brush if needed to remove dirt gently.
- 4 Trim the foliage to 1 inch above the bulb using clean scissors. Long stems draw moisture and speed up spoilage.
- 5 Cure bulbs in a dry, shaded spot for 2-3 days. Lay them out on a wire rack or mesh screen to allow airflow.
- 6 Store in a cool, dark place with high humidity (like a basement). Use mesh bags or paper sacks to prevent rot.
After curing, inspect your shallot bulbs for any that feel soft or show signs of rot or bruising. These won’t store well, so use them immediately in recipes like caramelized shallots or roasted dishes. The rest should keep for 4-6 months if stored properly.
One trick I swear by? Label your storage containers with the harvest date. This helps you use the oldest bulbs first and avoid waste. A little organization goes a long way when it comes to preserving your harvest. 🧅
If you notice any mold or slimy spots during storage, remove those bulbs immediately to prevent the rest from spoiling. Shallots are delicate, but with the right care, they’ll reward you with flavor all winter long.