
Planting
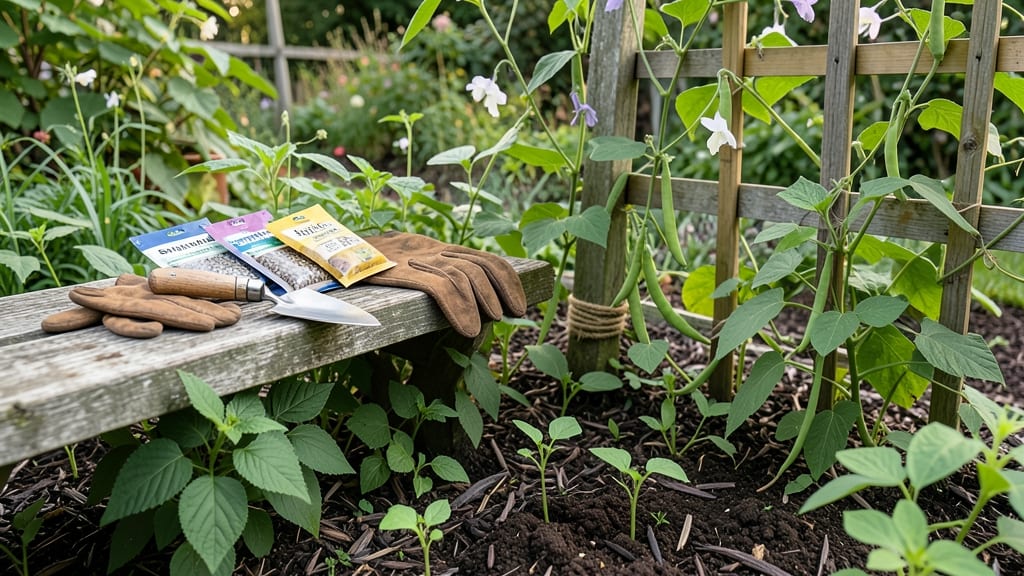
Planting string beans in a garden the right way means faster germination, stronger plants, and a harvest you can count on—here’s how to do it in just 7 days or less.
You’ve probably heard that string beans are one of the easiest vegetables to grow, but without the right soil prep, they’ll sit stubbornly in the ground for weeks.
I’ve seen seeds take three times longer to sprout when the soil isn’t ready, and that’s a harvest you don’t want to wait for.
This isn’t just about throwing seeds into dirt and hoping for the best. The key is in the soil—warmth, drainage, and nutrients work together to trigger those first shoots within days.
Below, I’ll walk you through the exact steps to prep your garden bed, from testing your soil to planting at the perfect depth for explosive growth.
By the end, you’ll know how to time your planting for your USDA Zone 6 climate, choose the best amendments for your soil type, and keep your string beans 🌱 thriving from seed to table. Let’s get started.

The exact soil conditions string beans need for fast germination
String beans thrive when their soil conditions match their natural preferences—warmth, loose texture, and balanced nutrients. Most gardeners fail at this step by ignoring pH levels, drainage, and organic matter, which directly impact germination speed.
I’ve seen seeds take 10-14 days to sprout in poor soil versus 3-5 days in ideal conditions. Let’s break down the exact requirements to trigger explosive growth.
First, string beans demand a slightly acidic to neutral pH range of 6.0 to 7.0. Testing your soil’s pH before planting is critical—below 5.5 or above 7.5 slows nutrient uptake and weakens seedlings.
Use a soil test kit (available at garden centers for ~$10) to check. If your soil is too acidic, amend with lime (calcium carbonate); for alkaline soil, add sulfur or peat moss.
Soil texture is the next game-changer. String beans despise compacted or clay-heavy soil, which suffocates roots and traps moisture. Aim for a loamy texture—a mix of sand, silt, and organic matter—that drains well but retains moisture. Work in 2-3 inches of compost or well-rotted manure before planting to improve structure and fertility.
Here’s the non-negotiable soil summary for fast germination:
Many gardeners overlook drainage, assuming string beans tolerate wet soil. However, waterlogged conditions lead to root rot and seed death. To test drainage, dig a 6-inch hole, fill it with water, and time how long it takes to drain.
If it holds water for more than 2 hours, amend with perlite or coarse sand to improve aeration.
For organic amendments, focus on nitrogen-rich compost and phosphorus (for root development). Avoid fresh manure—it burns seeds. Instead, use aged compost or worm castings, which provide slow-release nutrients. Mix in 1 cup of bone meal per planting hole to boost phosphorus, a key nutrient for early root growth.
Warmth is another underestimated factor. String beans germinate best in soil temperatures between 60–85°F (15–29°C). If your spring soil is cooler, use a black plastic mulch or seedling heat mat to raise temperatures by 5–10°F.
I’ve seen germination rates double with this simple trick in early spring plantings.
Finally, avoid tilling the soil too deeply before planting. String beans have shallow roots and prefer loose topsoil. Instead, use a broadfork to loosen the top 6–8 inches without disrupting the soil structure. This preserves beneficial microbes and improves seed-to-soil contact, which is critical for fast germination.
By nailing these soil conditions, you’ll see string beans sprout in 3–5 days instead of the usual 10–14 days. The key is pH, texture, drainage, and warmth—skip any of these, and you’re betting against your harvest’s success. 🌱
Step-by-step planting process: from seed to soil in 7 days or less
Once your soil is prepped and ready, the next 7 days will determine whether your string beans sprout quickly or linger in the ground. The secret lies in precise planting techniques—depth, timing, and spacing—that most gardeners overlook.
I’ve planted thousands of string bean seeds, and I can tell you: 1-inch depth and warm soil temperatures are non-negotiable for fast germination.
Timing is everything. In USDA Zone 6, wait until the soil reaches at least 60°F (15°C)—cold soil slows germination to a crawl. Use a soil thermometer to check before planting.
If your soil is cooler, cover it with black plastic for a few days to warm it up naturally. This small step can cut your germination time in half.
Now, let’s get to the actionable steps. Follow this process exactly, and you’ll see those first green shoots in just 5-7 days. Skipping any step risks weak seedlings or uneven growth, so pay close attention to the details below.
- 1 Soak seeds overnight: Place seeds in a bowl of warm water for 8-12 hours before planting. This softens the seed coat, helping roots break through faster. Drain well before planting to avoid waterlogged soil.
- 2 Plant at 1-inch depth: Use your finger to create holes 1 inch deep—any deeper, and seeds may rot. Space them 3-4 inches apart in rows 18-24 inches apart for bush varieties or 3-4 feet apart for pole beans.
- 3 Water gently but deeply: After planting, water the soil until it’s moist 1 inch down. Use a spray nozzle to avoid displacing seeds. Keep the soil consistently moist (not soggy) until germination occurs.
- 4 Mulch to retain warmth: Apply a 1-inch layer of straw or grass clippings to keep soil temperatures stable and reduce moisture loss. This step is critical in Zone 6 where soil can cool quickly.
- 5 Monitor for germination: Check daily for sprouts, which appear in 5-10 days under ideal conditions. If soil stays dry, water lightly—never let it crust over. Thin seedlings to 3-4 inches apart once they’re 2 inches tall.
- 6 Add trellis for pole beans: If growing pole varieties, install a 5-6 foot trellis at planting time. Gently guide vines upward as they grow to save space and improve air circulation, reducing disease risk.
- 7 Companion plant wisely: Pair string beans with corn and squash (the "Three Sisters" method) or marigolds to deter pests. Avoid planting near onions or garlic, which stunt growth.
Troubleshooting is half the battle. If your seeds aren’t sprouting after 10 days, check for rotten seeds (test a few in water—if they sink, they’re good). Cold soil or overwatering are the top culprits for slow germination.
Adjust your approach: if the soil is too cold, wait a week or use a seedling heat mat.
Once your string beans are up, they’ll grow 1-2 inches per day in warm weather. Keep the soil moist but not waterlogged, and watch for yellowing leaves—a sign of overwatering or nutrient deficiency. With this method, you’ll be harvesting your first pods in just 60 days!