
Tools
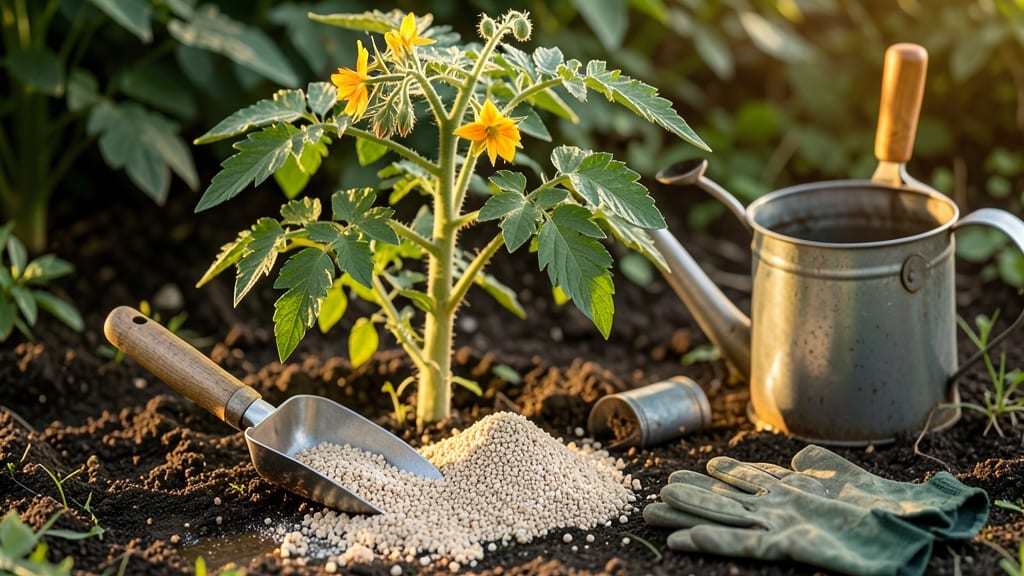
To use bone meal in your garden, mix it directly into the soil at planting time for a fast root and bloom boost—just 1-2 tablespoons per plant works wonders.
Struggling to get your General Vegetable/Flower 🌱 off to a strong start? Bone meal could be the game-changer your garden needs—but only if you use it correctly. This nutrient-rich fertilizer unlocks rapid root development and lush flowers, but improper application wastes its power.
Most gardeners overlook its timing, thinking it’s just another fertilizer. In reality, bone meal works best when worked into the soil before seeds or transplants go in, giving roots a phosphorus-rich head start. The key is balance—too much can burn young plants, while too little leaves them struggling to establish.
Here’s what you’ll learn: the exact amounts to use, the best plants to pair with it, and how to avoid common mistakes that turn this powerhouse into a garden flop.
When and how to apply bone meal for maximum root growth & flowering
Bone meal is one of my go-to organic fertilizers for boosting root development and flower production in the garden. Made from ground animal bones, it’s packed with phosphorus—the nutrient plants crave during critical growth stages. But timing and application matter just as much as the product itself.
Use it wrong, and you’ll waste its power or even harm your plants. Let’s break down the best times to apply it and how much to use for different plant types.
The key to success with bone meal lies in understanding its slow-release nature. Unlike synthetic fertilizers that deliver quick fixes, bone meal works over time, making it ideal for long-term root strengthening and bloom production.
For best results, I recommend applying it at three critical stages: pre-planting, transplanting, and as a mid-season boost when you see buds forming. Each method requires slightly different techniques, so let’s dive into the details.
-
Step 1: Pre-Planting Application
Best for: New plantings, bulbs, and root crops- Mix 1-2 tablespoons of bone meal per plant into the top 6 inches of soil
- Work it in gently to avoid clumping or disrupting roots
- Water thoroughly to activate nutrients and prevent burn
-
Step 2: Transplanting Boost
Best for: Seedlings, potted plants, and established plants needing a transplant- Apply 1 tablespoon per hole when transplanting
- Mix with soil at the bottom of the planting hole to encourage root spread
- Gently backfill and water to settle the soil
-
Step 3: Mid-Season Top-Dressing
Best for: Flowering plants, fruiting vegetables, and perennials- Sprinkle ½ tablespoon around the base of mature plants
- Lightly scratch into the top inch of soil to avoid direct contact with stems
- Water immediately to dissolve and distribute nutrients
-
Step 4: Bulb & Flower Bed Application
Best for: Spring-blooming bulbs and perennial flowers- Broadcast 1 cup per 10 square feet over flower beds in early spring
- Rake lightly to mix into the top 2 inches of soil
- Water deeply to encourage root growth before blooming
For vegetable gardens, I focus on applying bone meal at planting time for root crops like carrots and beets, and during flowering for tomatoes and peppers. The phosphorus boost helps these plants develop stronger roots and produce more fruit.
For example, when I plant tomato seedlings, I mix 2 tablespoons of bone meal into each planting hole. This gives them a head start on root development, which translates to healthier plants and bigger harvests later in the season.
When working with flowering plants, timing is everything. I apply bone meal in early spring for perennials and late winter for spring-blooming bulbs. This gives the roots time to absorb the nutrients before the plant puts energy into producing flowers.
For annuals like marigolds or petunias, I use a lighter top-dressing when the first buds appear. This mid-season boost ensures they produce vibrant, long-lasting blooms all season long.
One common mistake I see is overapplying bone meal, especially in acid-loving plants like blueberries or azaleas. Too much phosphorus can actually lock out other nutrients and harm these plants. Always follow the 1-2 tablespoon per plant guideline unless you’re working with a large garden bed.
For container gardens, reduce the amount to ½ teaspoon per 5-inch pot to avoid over-fertilizing.
To maximize bone meal’s effectiveness, pair it with compost or well-rotted manure for a balanced nutrient profile. The organic matter helps create a healthy soil environment where roots can thrive.
I also recommend watering thoroughly after application to help dissolve the nutrients and prevent them from sitting too close to plant roots, which can cause burn. Always wear gloves when handling bone meal, as it can be dusty and irritating to the skin.
If you’re new to bone meal, start with a small test area to see how your plants respond. Monitor their growth and adjust future applications based on what you observe.
With the right timing and technique, bone meal can transform your garden—producing stronger roots, more flowers, and healthier plants all season long. 🌱
Best plants to use bone meal with (and which ones to avoid)
Bone meal is a phosphorus powerhouse that supercharges root growth and flower production, but not all plants benefit equally. The best candidates are heavy feeders like tomatoes, roses, and peppers—plants that demand quick root establishment and abundant blooms.
These varieties thrive when bone meal is mixed into the soil at planting, giving them the phosphorus boost they crave for vigorous growth.
For bulbs and perennials, bone meal works wonders when applied during planting or early spring. Think of it as a growth accelerator for plants that store energy underground—like tulips, daffodils, or asparagus.
The key is timing: add it to the planting hole or work it into the soil before new shoots emerge. This ensures roots have the nutrients they need to establish quickly.
But here’s the catch: bone meal isn’t a one-size-fits-all fertilizer. Citrus trees, blueberries, and other acid-loving plants can suffer if overused. These plants prefer low-phosphorus, high-nitrogen conditions, and bone meal’s high phosphorus can disrupt their natural nutrient balance.
Instead, opt for compost or fish emulsion for these varieties.
Let’s break it down with a quick pros-cons comparison to help you decide which plants will love bone meal—and which ones to avoid.
✅ Best Plants for Bone Meal
✔️ Boosts fruit production
✔️ Encourages lush blooms
✔️ Strengthens root systems
✔️ Enhances next year’s growth
❌ Plants to Avoid Bone Meal With
✖️ Disrupts nutrient balance
✖️ Prefers low-phosphorus soil
✖️ Needs acidic soil
✖️ Leafy greens (e.g., lettuce)
Understanding a plant’s nitrogen vs. phosphorus needs is crucial. Bone meal is high in phosphorus (the middle number in NPK), which supports root development and flowering. Plants like tomatoes and roses need this phosphorus boost to produce fruit and blooms, while leafy greens prioritize nitrogen for foliage growth.
If you’re growing lettuce or spinach, bone meal can lead to excessive leaf growth but fewer edible leaves.
For container gardens, use bone meal sparingly—just 1 tablespoon per plant mixed into the soil at planting. Overdoing it can cause nutrient burn, stunting growth instead of boosting it.
If you’re unsure, start with a small amount and monitor your plants’ response. Healthy roots and vibrant blooms are your best indicators of success!
Pro tip: Pair bone meal with compost or kelp meal for a balanced nutrient profile. This combo ensures your plants get the phosphorus they need without overwhelming them with a single nutrient. Think of it as a well-rounded diet for your garden—variety is key!