
Picking
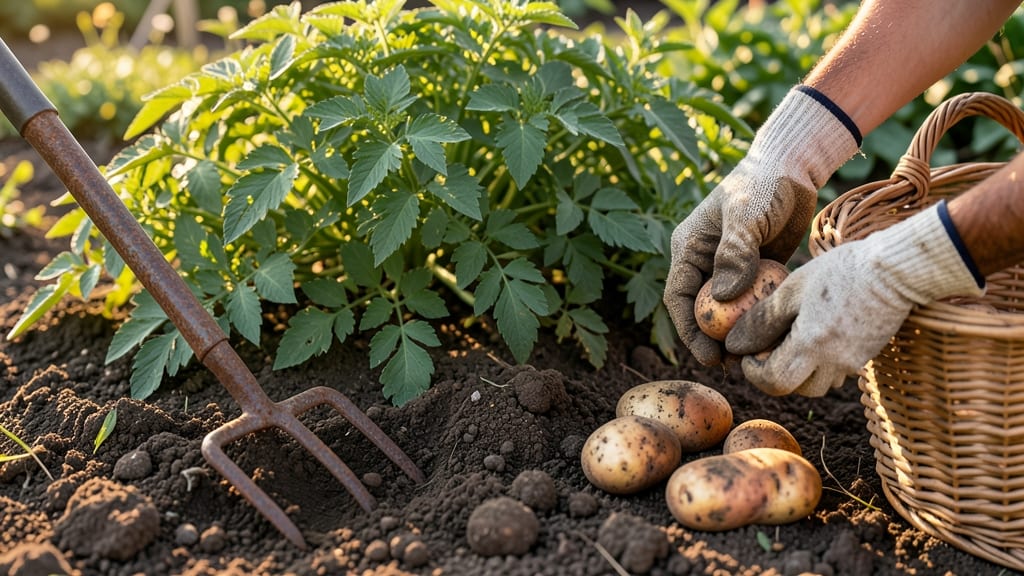
Harvesting potatoes from your garden at the right time means the difference between finger-sized treasures and shriveled scraps.
Digging up potatoes too early means small yields, but waiting too long risks tubers turning tough or sprouting in the soil—so how do you know when those hidden 🥔 are ready?
Most gardeners rely on the classic "new potatoes" rule: dig when tubers are 2-3 inches wide, but timing also depends on your variety and climate. Early-season potatoes may be ready in 70 days, while late-season types need up to 120 days.
Below, I break down the exact signs to watch for—from yellowing foliage to soil conditions—and how to test for readiness without damaging your crop.

Signs your potatoes are ready for harvest (beyond finger size)
Harvesting potatoes at the right time ensures you get maximum yield and best flavor. While finger-sized tubers are often the classic cue, many varieties—especially early-season types—can be ready much sooner.
The key lies in physical plant cues and understanding your potato variety's maturity timeline. Ignoring these signs can lead to small, shriveled potatoes or even missed harvest windows.
Potatoes are underground crops, so you can't judge them by appearance alone. Instead, focus on leaf color, stem condition, and soil firmness.
For example, early varieties like 'Yukon Gold' may be ready in just 70-80 days, while late-season types like 'Russet' can take up to 120 days. Knowing your variety's harvest window helps you time your digging perfectly.
| Variety Type | Key Harvest Cues | Days to Maturity | Best Harvest Time |
|---|---|---|---|
| Early (New Potatoes) | Flowers appear; stems turn yellow; tubers 1-2" diameter | 70-80 days | Late spring to early summer |
| Mid-Season | Top growth yellows; stems die back; tubers 2-3" diameter | 90-100 days | Mid to late summer |
| Late (Storage) | Foliage completely dead; soil dry; tubers 3-4"+ diameter | 110-120 days | Early to mid-fall |
The most reliable harvest indicator is when your potato plants' foliage starts yellowing and stems begin to die back. This process, called senescence, signals that the plant is redirecting energy to the underground tubers.
For early varieties, you might even see flowers bloom—this is your cue to dig soon! However, don’t rush—wait until the stems turn brown and collapse completely for the best flavor and storage life.
Another critical sign is the condition of the soil. When the top 2-3 inches of soil feel dry and crumbly, it’s often time to harvest. Wet soil can damage tubers and make them prone to rot or disease.
I like to check soil moisture by squeezing a handful—if it doesn’t stick together, it’s likely ready. Early-morning digging is ideal because the soil is cooler and less likely to be damp from overnight dew.
For new potatoes or early harvests, you can test tuber size without fully digging. Gently probe the soil around the base of the plant with your fingers or a small trowel.
If you feel firm, golf-ball-sized tubers just below the surface, they’re likely ready. Mid-season varieties should have tubers around 2-3 inches in diameter, while late-season types can wait until they reach 3-4 inches for optimal storage potential.
Seasonal timing also plays a huge role in harvest readiness. In cooler climates, aim to harvest 2-3 weeks before the first frost, as freezing temperatures can ruin tuber quality.
In warmer regions, you might harvest earlier in the season to avoid heat stress or disease pressure. Pay attention to your local frost dates—most gardeners in USDA Zone 6a (like me!) harvest between late September and early October for late varieties.
One common mistake is waiting until the entire plant is completely dead. While this works for storage potatoes, it can lead to shriveled, tough tubers if you’re not careful. Instead, harvest just before full senescence for the best texture and flavor.
For new potatoes, you can even do partial harvests every 2-3 weeks to encourage more production—just leave some tubers in the ground to grow larger.
Finally, press-testing is a quick way to check readiness. Gently press a tuber through the soil with your thumbnail—if the skin resists and doesn’t puncture easily, it’s likely ready.
If it gives way, wait another week or two. This method works best for mid-to-late season varieties and helps avoid undercooked or watery potatoes.
Remember, harvest timing varies by variety, so always check the seed packet or plant tag for specific guidelines. For example, 'Red Pontiac' is ready in 80 days, while 'Kennebec' needs 110 days.
By combining plant cues, soil conditions, and seasonal timing, you’ll never miss the perfect harvest window again! 🥔
How to test for harvest readiness without damaging your crop
Testing for potato harvest readiness doesn't require digging up your entire crop. Instead, use gentle probing and visual cues to check tuber size and maturity without harming your plants.
This method lets you harvest a few potatoes for immediate use while leaving the rest to mature, balancing both yield and plant health.
Start by observing your potato plants for foliage changes. When the top growth begins yellowing and wilting, it’s often a sign that tubers below are nearing harvest size. However, this alone isn’t enough—you’ll need to verify with hands-on tests to avoid guessing.
Step-by-step testing ensures you harvest at the perfect time. Below, I’ll walk you through the safest, most effective methods to check tuber readiness without disturbing your entire crop. These techniques work for both early-season varieties (like 'Yukon Gold') and late-season types (like 'Russet').
How to Test for Potato Harvest Readiness
- Step 1: Choose a healthy plant with vigorous foliage and no signs of disease. Avoid plants near the edges of your bed, as tubers there may be smaller.
- Step 2: Use a trowel or hand fork to gently loosen the soil around the base of the plant. Aim for a depth of 6-8 inches, where most tubers form.
- Step 3: Gently part the soil with your fingers to feel for tubers. Look for ones that are 2-3 inches in diameter—this is ideal for most varieties.
- Step 4: Check the skin firmness by pressing a tuber with your thumbnail. If the skin resists pressure and doesn’t dent easily, it’s ready. If it’s soft or pierces easily, wait 1-2 weeks.
- Step 5: Examine the stem end of the tuber. If it’s brown and shriveling, the potato is mature. If it’s still green and firm, the tuber needs more time.
- Step 6: Carefully rebury the soil around the plant and water lightly to settle it. This minimizes stress on the plant and allows remaining tubers to continue growing.
For partial harvests, focus on harvesting a few tubers at a time, especially from early-maturing varieties. This lets you enjoy fresh potatoes while allowing the rest of the crop to bulk up.
For example, if you’re growing 'Red Pontiac' (an early variety), you can start harvesting 70-80 days after planting.
If your potatoes are planted in containers or raised beds, you can tilt the container slightly to expose tubers without digging. This is especially useful for small-space gardens where disturbing the soil too much can be risky. Always handle tubers gently to avoid bruising, which can lead to rot.
Remember, over-harvesting can stress your plants and reduce yield. Limit your tests to 10-15% of the crop at a time, and always prioritize healthy, central plants for the most accurate results. With practice, you’ll develop a feel for when your potatoes are ready—no guesswork required! 🥔