
Picking
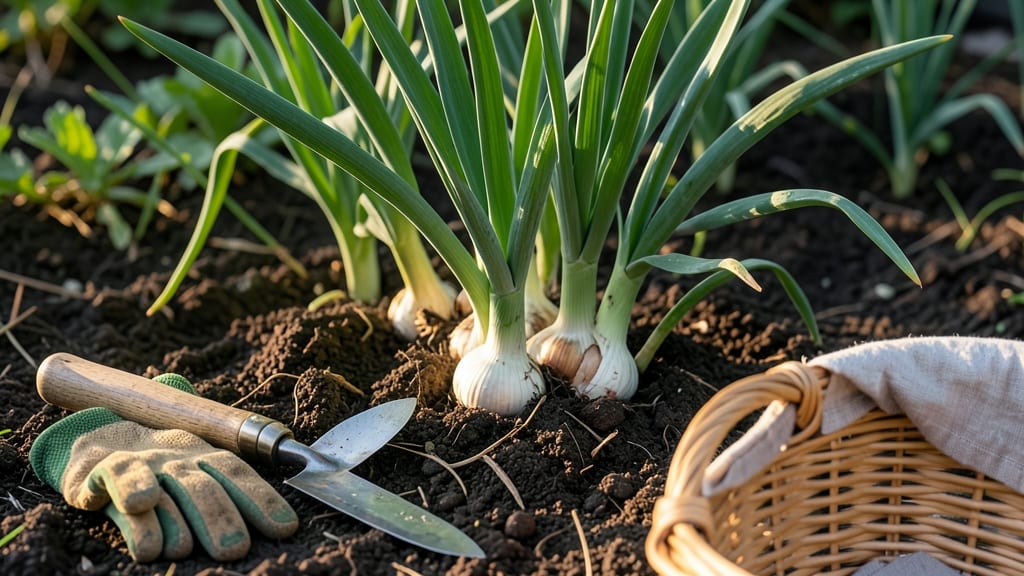
Picking garlic from your garden at the right time ensures bold flavor and long storage life—so timing is everything for that 🧄 harvest.
Picture this: you’ve waited months for your garlic to mature, only to pull it too early and end up with weak, pungent cloves that won’t last. Or worse, you wait too long and risk splitting bulbs or attracting pests.
Knowing the exact moment to harvest is the difference between a fantastic crop and a wasted season.
Here’s the secret: it’s all about the leaves, the bulb size, and a simple paper test. Whether you’re in Zone 6a or another region, these visual cues will tell you when your garlic is ready to pull—before the flavor fades or the bulbs rot in the ground.
In this guide, I’ll walk you through the 3 key signs of peak garlic readiness, how to test bulbs for perfection, and what happens if you miss the window. By the end, you’ll never second-guess harvest time again.

How to test garlic bulbs for perfect harvest timing
Timing is everything when harvesting garlic—miss the window, and you’ll end up with small, pungent bulbs that store poorly or oversized, woody cloves with bland flavor. The key? Testing your garlic bulbs for maturity using simple, foolproof methods before the first frost hits.
I’ve perfected these techniques over 10 years of growing both hardneck and softneck varieties, and they’ll give you that just-right harvest every time.
Most gardeners rely on leaf color as their only cue, but I’ve found that combining visual checks with tactile tests eliminates guesswork. For example, hardneck varieties like ‘Music’ or ‘German Red’ often mature 2-3 weeks earlier than softnecks like ‘Silverskin’, so regional adjustments are critical.
Let’s start with the most reliable method: the paper test, which reveals bulb maturity before any leaves brown.
- Step 1: Choose 3-5 representative plants Select healthy garlic plants with fully developed stems (6-12 inches tall). Avoid plants with yellowing leaves or disease.
- Step 2: Gently dig up bulbs Use a hand trowel or fork to loosen soil around the base. Lift carefully to avoid damaging the bulb.
- Step 3: Perform the paper test Remove the top 3-4 layers of papery skins from one bulb. Place it on a white paper towel and press gently—if the cloves are fully formed and dry, the paper will show minimal moisture.
- Step 4: Check stem browning Look for brown streaks on the stem (not just the leaves). If 50%+ of the stem is brown, your garlic is ready.
- Step 5: Adjust for your region Hardnecks (Zones 3-8): Harvest when 60% of stems brown (usually late June-July). Softnecks (Zones 5-10): Wait for 70% stem browning (typically July-August).
- Step 6: Confirm with bulb squeeze Gently squeeze a bulb—if it feels firm and rounded (not soft or hollow), it’s prime for harvest.
If your garlic passes the paper test but the stems aren’t brown yet, wait 3-5 more days—this is especially true in cooler climates (Zones 3-5), where garlic matures slower.
For example, in Zone 4, I’ve seen hardnecks like ‘Chesnok Red’ take up to 300 days to mature, while softnecks in Zone 9 might need 270 days. Always account for your last frost date—harvesting too late risks frost damage or bolt formation.
Another pro tip: Hardneck varieties often show maturity first in the outer cloves, while softnecks mature more uniformly. To test, peel back the outer papery layer of 2-3 cloves—if they’re plump and dry, your entire bulb is ready.
I like to test every 5-7 days starting in late June to catch the perfect window. Miss it, and you’ll either have underdeveloped bulbs or bolting scapes that ruin your harvest.
For container-grown garlic, the same rules apply, but bulbs may mature 1-2 weeks earlier due to warmer root zones. If you’re growing in 10-inch pots, monitor the paper test closely—containers dry out faster, and garlic can overheat if left too long.
In my Zone 7 garden, potted ‘Music’ garlic often tests ready by mid-July, while in-ground plants lag by a week.
One mistake I see often is relying only on leaf color. While yellowing lower leaves are a classic sign, they can also indicate disease or drought stress. That’s why I always pair visual cues with the paper test and stem check.
For instance, ‘German White’ hardneck might have brown stems but still-green leaves—this is normal and means it’s ready to harvest. Ignore the leaves and trust the bulb’s physical maturity.
Regional adjustments are critical. In warmer climates (Zones 8-10), softneck varieties like ‘Artichoke’ can overmature if left too long, leading to split bulbs or mold. Here, I harvest 10-14 days earlier than the paper test suggests.
Conversely, in colder zones (Zones 1-4), hardnecks may need extra time—I’ve had ‘Korean Red’ bulbs test ready in early August only to need another 2 weeks of curing before storing.
Proper timing also affects storage life. Garlic harvested at peak maturity can last 6-12 months in a cool, dark place, while overripe bulbs spoil in weeks.
To maximize shelf life, harvest when your tests confirm 70-80% stem browning, then cure for 2-3 weeks in a shady, well-ventilated area (like a garage or porch). This drying process locks in flavor and prevents rot.
Remember: No two garlic varieties mature identically. Even within hardnecks, ‘Purple Stripe’ might be ready when ‘Silverskin’ softnecks still need weeks. That’s why I always test multiple plants from each variety and keep a harvest journal to track patterns.
With these methods, you’ll never guess again—just test, confirm, and harvest at the perfect moment. 🌾
3 Unmistakable signs your garlic is ready to harvest
Harvesting garlic at the perfect moment transforms a good crop into an exceptional one. The difference between peak flavor and bitter disappointment often comes down to these three visual and tactile cues.
Ignoring them risks bulbs that store poorly or even sprout prematurely in storage—so pay close attention to what your plants are telling you.
I’ve learned the hard way that waiting too long can mean shriveled cloves, while pulling too early guarantees underdeveloped bulbs with weak storage life. The key is balancing these three unmistakable signs, which work together like a checklist for success.
Let’s break down what to look—and feel—for when your garlic is begging to be harvested.
🌾 3 Signs Your Garlic Is Harvest-Ready
- 1. Lower leaves turn brown and papery – The bottom 1/3 of leaves should wither completely, while the top remains green. This signals the bulb has finished growing underground.
- 2. Bulbs feel firm and fully formed – Gently squeeze a bulb through the soil. If it’s round, solid, and resists compression, it’s ready. Soft bulbs need more time.
- 3. Stems begin to brown and flop – The scapes (if present) and flower stalks should dry out, and the entire plant may lean or collapse slightly.
Let’s start with the most obvious visual cue: leaf color. When your garlic’s lower leaves turn straw-colored and crispy—like dried paper—this is nature’s way of saying, “It’s time!” I always check this first because it’s the most visible sign.
Hardneck varieties often show this 6-8 weeks after flowering, while softnecks may take slightly longer in warmer climates.
Next, dig up one bulb to test its readiness. The paper skin between cloves should be dry and easily peelable, not sticky or moist. If you see green shoots forming inside, you’ve waited too long—the bulb will sprout in storage.
Pro tip: Use a garden trowel to gently loosen soil around one plant, then pull it up to check without disturbing the rest of your crop.
Finally, the stem and scape give away the final clue. When the flower stalk (scape) dries out and the main stem starts browning, your garlic is at its sweet spot. This is especially critical for hardneck varieties, which rely on these cues more than softnecks.
If you’re in a warmer climate (Zone 8+), these signs may appear earlier—sometimes as soon as late June.
Troubleshooting is key here. If your garlic shows only partial browning on leaves but the bulb feels soft, it’s not ready yet.
Conversely, if the entire plant turns brown and collapses before the bulb feels firm, you’ve missed the window—though you can still harvest for immediate use (just expect shorter storage life).
Mastering these three signs turns guesswork into confidence, ensuring your garlic stores beautifully through winter. Once you’ve confirmed readiness, act within 2-3 days to avoid overripeness. The sooner you harvest after these cues appear, the better your bulbs will keep—sometimes up to 12 months if cured properly.