
Picking
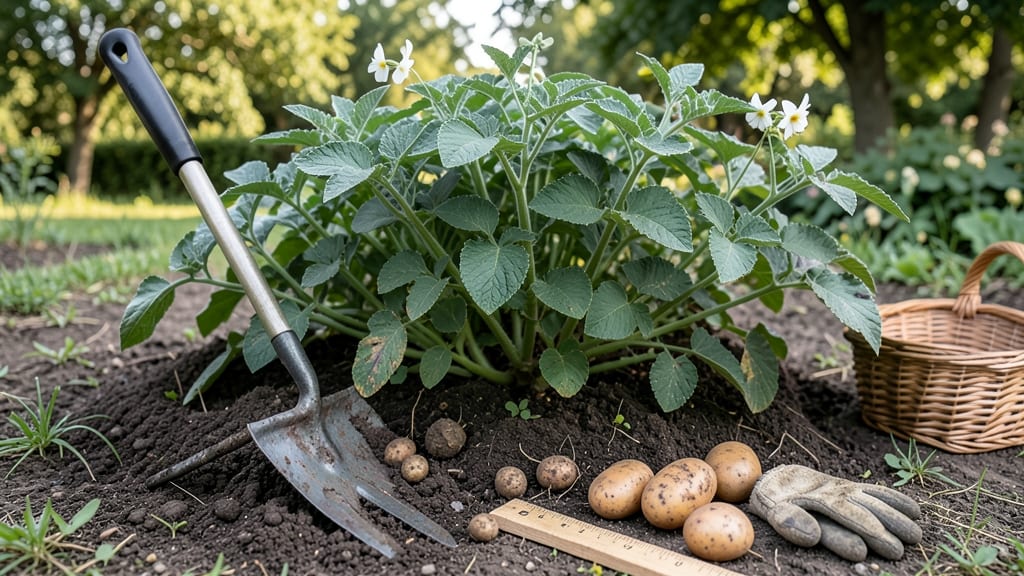
To pick potatoes from your garden at the perfect time, watch for yellowing foliage and firm, 2-inch tubers—these are the clearest signs your 🥔 harvest is ready.
Ever dug up potatoes only to find them small and underdeveloped? Or worse, waited too long and ended up with shriveled, tough spuds? The difference between a bountiful harvest and a disappointing one often comes down to timing.
Miss the window, and you might as well have planted decorative plants instead of food.
Most gardeners know potatoes need 70-120 days to mature, but the exact moment to harvest depends on your climate zone, variety, and even soil conditions. In Zone 6a, where many growers live, the ideal window usually falls between mid- to late summer—just as the plants start to wither.
But how do you know for sure when those tubers are ready to come out of the ground?
Below, I’ll break down the exact signals to watch for—from leaf color to tuber size—and share my foolproof method for testing readiness without damaging a single potato. No more guesswork, just a perfect harvest every time.

How to tell when potatoes are ready to harvest based on plant signals
Harvesting potatoes at the right time ensures maximum yield and optimal flavor. Most gardeners miss the window because they focus on days after planting rather than plant signals.
Early varieties like Yukon Gold may be ready in 70-90 days, while late varieties like Russet need 100-120 days. Pay attention to these key visual cues to avoid overripe or underdeveloped tubers.
First, watch the flowering stage. Most potato varieties produce white or purple flowers about 2-3 weeks before harvest. If your plants are blooming but the tubers are still small, don’t dig yet—wait for foliage changes.
Early harvesters like Red Pontiac can be harvested 2 weeks after flowering, but late varieties need more time.
Next, check the leaf health. When about 50-70% of the foliage turns yellow or brown and starts to die back, it’s a strong signal. This happens when the plant redirects energy to the tubers below ground.
If you see green leaves persisting, the tubers may still be growing. For new potatoes, harvest when the top growth is about 12 inches tall and the tubers are 1-2 inches in diameter.
Here’s a quick harvest readiness checklist to avoid guesswork:
Don’t rely solely on days after planting—seasonal adjustments matter. In cooler climates (USDA Zones 3-5), potatoes may take 10-14 days longer to mature due to shorter growing seasons. Conversely, in warm climates (Zones 8-10), tubers may mature faster but risk heat stress if harvested too late.
Always account for your last frost date and first frost to plan accordingly.
For new potatoes, harvest when the tubers are 1-2 inches wide and the plant is about 12 inches tall. These are best eaten fresh and won’t store well. Use a hand trowel to carefully dig around the base of the plant, shaking off excess soil to check size.
If they’re too small, leave them to grow for another 2-3 weeks.
Another pro tip: test a few tubers before full harvest. Gently dig up 1-2 potatoes from different parts of the plant. If they’re firm, 2+ inches wide, and the skin is thick, it’s time to harvest.
If they’re still small or green, wait another week. This spot-checking method prevents overharvesting or missing the sweet spot.
Regional climate zones also play a role. In Zone 6a (like much of the Midwest), aim for a harvest window between late July and early September. In Zone 9a (Southern California), you might harvest as early as June** if planted early.
Always adjust for soil temperature—potatoes grow best in 50-75°F soil. If your soil is too hot or cold, growth slows, delaying harvest.
Finally, avoid the common mistake of waiting until the entire plant dies back. By then, tubers may sprout or shrivel, reducing quality. Instead, harvest when you see 70% foliage dieback and the tubers meet size requirements.
For long-term storage, cure potatoes in a dark, humid place (60-70°F) for 1-2 weeks to toughen the skin and improve shelf life.
Timing your potato harvest based on plant signals—not just days—ensures perfectly sized, flavorful tubers every time. Pay attention to flowers, leaf color, tuber size, and stem tests to master the art of harvesting. Happy digging! 🌱
Step-by-step guide to harvesting potatoes without damaging the tubers
Once your potatoes show yellowing foliage and 2-inch tubers, it’s time to harvest—but how you dig makes all the difference. The wrong technique can bruise tubers, inviting rot and shortening storage life.
I’ve learned the hard way that gentle handling and the right tools are non-negotiable for a perfect harvest.
Timing matters too: Harvest on a dry, sunny day when soil is slightly moist but not soggy. This ensures clean tubers and minimizes disease risk. If rain is forecast, dig early to avoid muddy conditions that can damage delicate skins.
My best harvests always come after a week of dry weather when the plants look wilted but haven’t fully died back.
- 1 Test tuber readiness: Gently dig up 1-2 plants to check tuber size. Look for 2-3 inch tubers with thick, firm skins. If they’re smaller or still green, wait 1-2 weeks.
- 2 Gather tools: Use a fork or spade (never a shovel—it cuts tubers), gardening gloves, and a large basket lined with straw or burlap to prevent bruising.
- 3 Loosen soil gently: Insert the fork 6 inches from the plant and pry downward, lifting soil—not digging straight down—to avoid piercing tubers. Work in a circle around the plant until the entire root zone is loose.
- 4 Lift carefully: Grasp the plant’s stem base and pull upward to expose tubers. Shake off excess soil, but don’t scrub—this removes the protective skin. Place potatoes in the basket immediately to prevent sunburn.
- 5 Cure potatoes: Spread them in a single layer in a cool, dark, dry place (55–60°F) for 7–10 days. This hardens the skin, improving storage life. Avoid direct sunlight or heat, which turns tubers green and toxic.
After harvesting, I always sort my potatoes by size—small ones for immediate use, medium for storage, and large for cooking soon. Store them in a paper bag or mesh sack in a dark, cool pantry (45–50°F) where they’ll keep for months.
The key is patience: Rushing the curing process leads to soft, short-lived spuds.
One common mistake? Harvesting when the foliage is still green or the tubers are under 1 inch. These potatoes won’t store well and often rot quickly. Another pitfall is digging when the soil is wet—mud clings to tubers, speeding up decay. Always prioritize dry conditions for a clean, long-lasting harvest.
Pro tip: If you’re growing new potatoes (harvested early), dig when tubers are 1–2 inches and the plant is still green. These are best used fresh, not stored. For storage potatoes, wait until the plant fully dies back—this ensures maximum starch and shelf life.