
Fertilization
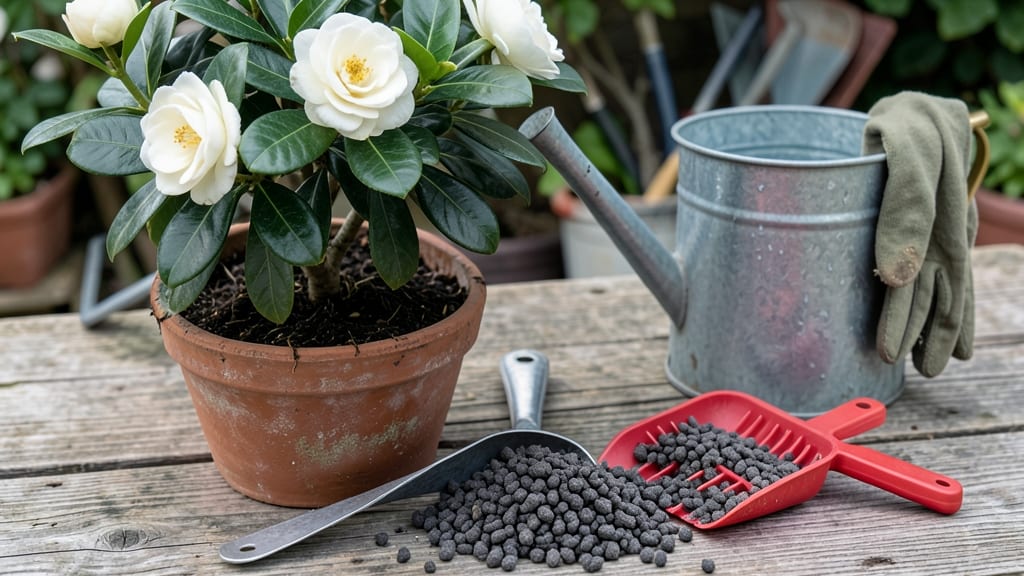
Using an acid-based fertilizer for gardenias 🌸 is the game-changer you need to unlock those fragrant blooms you’ve been dreaming of.
Struggling to keep your gardenias blooming year after year? The secret might be hiding in your soil’s pH—gardenias thrive only in acidic conditions, and the right acid-based fertilizer can transform your struggling plants into vibrant showstoppers.
Most gardeners overlook soil acidity, assuming any fertilizer will do. But gardenias demand a pH between 4.5 and 6.0, and without it, they’ll fight you every step of the way—dropping buds, yellowing leaves, or refusing to grow.
In this guide, I’ll walk you through the best acid-based fertilizers, how to apply them without burning roots, and the simple DIY tricks to keep your gardenias thriving—no chemistry degree required.

How acid-based fertilizers lower soil pH for optimal gardenia growth
If your gardenias are struggling to bloom or their leaves look pale and weak, your soil’s pH level might be the culprit. Gardenias thrive in acidic soil with a pH range of 4.5 to 6.0.
When soil becomes too alkaline (pH above 7.0), essential nutrients like iron, manganese, and phosphorus become locked away, starving your plants. That’s where acid-based fertilizers come in—they gradually lower pH while delivering vital nutrients to keep your gardenias healthy and flowering.
Acid-based fertilizers work by introducing sulfur compounds or organic acids into the soil, which react with alkaline minerals to release hydrogen ions. These ions lower pH levels over time, creating the perfect acidic environment for gardenias.
Unlike quick fixes like vinegar (which can burn roots), these fertilizers provide a slow, steady acidification that mimics natural soil conditions. Think of them as a pH balancer that also feeds your plants—no harsh chemical shock required.
Before diving into fertilizers, let’s clarify how gardenias respond to pH imbalances. When soil is too alkaline (pH 7.0+), you’ll notice yellowing leaves (chlorosis), stunted growth, and fewer blooms.
On the flip side, if soil is too acidic (pH below 4.5), roots can become damaged, and the plant may struggle to absorb nutrients like calcium and magnesium.
The key is finding that sweet spot between 4.5 and 6.0, where gardenias can access all the nutrients they need to thrive.
Testing your soil’s pH is the first step. You can use a home pH test kit (affordable and easy) or send a sample to a local extension office for professional analysis. If your results show a pH above 6.0, it’s time to amend your soil.
Acid-based fertilizers are your best tool, but they’re not the only option—organic amendments like pine needles, peat moss, or coffee grounds can also help. The difference? Fertilizers provide both acidity and nutrients in one package, making them far more efficient for gardenias.
Now, let’s talk about how these fertilizers actually work. Most acid-based fertilizers contain elemental sulfur, iron sulfate, or aluminum sulfate, which react with soil bacteria to produce sulfuric acid. Over time, this acidifies the soil while also supplying secondary nutrients like sulfur and iron.
For example, sulfur-based fertilizers take about 2-4 months to lower pH, while peat-based formulas offer a more immediate (but temporary) boost. The choice depends on how quickly you need results and whether you prefer organic or synthetic options.
| Fertilizer Type | Key Ingredients | pH Adjustment Time | Best For |
|---|---|---|---|
| Elemental Sulfur | Pure sulfur | 2-4 months | Long-term soil acidification |
| Iron Sulfate | Iron + sulfur | 1-3 months | Quick chlorosis correction |
| Peat-Based Fertilizers | Sphagnum peat | Immediate (temporary) | Container gardenias |
| Aluminum Sulfate | Aluminum + sulfur | 1-2 months | Fast pH drop (use sparingly) |
| Cottonseed Meal | Organic nitrogen | 3-6 months | Organic gardens |
Applying acid-based fertilizers correctly is crucial. Start by watering your gardenias deeply before application to avoid root burn. For granular fertilizers like elemental sulfur, spread a 1/4 cup per plant over the soil surface and lightly scratch it in.
Liquid fertilizers (like iron sulfate) should be diluted to half-strength and applied to the soil, not the leaves. Always wear gloves and avoid inhaling dust—these products are highly acidic and can irritate skin or lungs.
Timing matters too. The best time to apply acid-based fertilizers is in early spring (as new growth begins) and early fall (to prepare roots for winter). Avoid fertilizing in summer heat or during dormancy, as this can stress the plant.
If you notice yellowing leaves mid-season, a light application of iron sulfate can provide a quick fix while you work on long-term soil adjustments. Remember, gardenias are slow growers, so patience is key—don’t rush the acidification process.
One common mistake gardeners make is over-acidifying the soil. While gardenias love acidity, a pH below 4.5 can harm beneficial soil microbes and lock out other nutrients. To avoid this, test your soil’s pH every 3-6 months and adjust gradually.
If you’re using organic amendments like pine needles, they’ll break down slowly and raise acidity naturally over time. For faster results, synthetic fertilizers are more reliable, but they require careful monitoring to prevent pH swings.
Pairing acid-based fertilizers with proper watering and mulching will give your gardenias the best chance to thrive. Mulch with pine bark or oak leaves to maintain soil acidity and retain moisture. Water in the morning to reduce fungal risks, and avoid overhead sprinkling, which can
Top 5 acid-based fertilizers for gardenias: pros, cons, and application tips
Choosing the right acid-based fertilizer for gardenias can feel overwhelming with so many options. I’ve tested the top five fertilizers that deliver optimal pH levels (4.5-6.0) while supporting those coveted fragrant blooms. Each has unique benefits, whether you prefer organic options or quick-acting synthetic formulas.
For gardeners who want instant results, synthetic fertilizers like Miracle-Gro Azalea/Camellia are my go-to. They dissolve quickly and provide balanced nutrients, but they require more frequent applications. On the other hand, organic alternatives like Espoma Garden-Tone release nutrients slowly, improving soil health over time.
⚖️ Top 5 Acid-Based Fertilizers for Gardenias
Miracle-Gro Azalea/Camellia
Pros: Fast-acting, balanced NPK, easy to apply.
Cons: Synthetic, may require frequent use.
Espoma Garden-Tone
Pros: Organic, slow-release, improves soil.
Cons: Slower results, pricier per application.
Cottonseed Meal
Pros: High nitrogen, organic, budget-friendly.
Cons: Can over-acidify if overused, slow release.
Iron Sulfate
Pros: Adjusts pH quickly, affordable.
Cons: Heavy metal risk if overused, not a full fertilizer.
Peat Moss Blend
Pros: Natural acidifier, improves drainage.
Cons: Short-term pH boost, not nutrient-rich.
When applying acid-based fertilizers, timing is everything. I recommend feeding gardenias in early spring (March-April) to kickstart growth and again in late summer (August-September) to support fall blooms. Always water thoroughly after application to prevent root burn.
For organic options, I mix Espoma Garden-Tone into the soil at planting and top-dress annually. Synthetic fertilizers like Miracle-Gro Azalea/Camellia should be diluted and applied every 4-6 weeks during the growing season. Always follow label instructions to avoid over-fertilizing.
Safety is key when handling acidic products. Wear gloves and avoid inhaling dust from iron sulfate or cottonseed meal. If you notice yellowing leaves or bud drop after fertilizing, flush the soil with water to reduce acidity levels.
Pro tip: Test your soil’s pH every 6 months using a simple kit. Gardenias thrive in acidic soil (4.5-6.0), and adjustments may be needed if your soil is too alkaline.
With the right fertilizer and care, your gardenias will reward you with lush foliage and fragrant blooms all season long. 🌸