
Watering
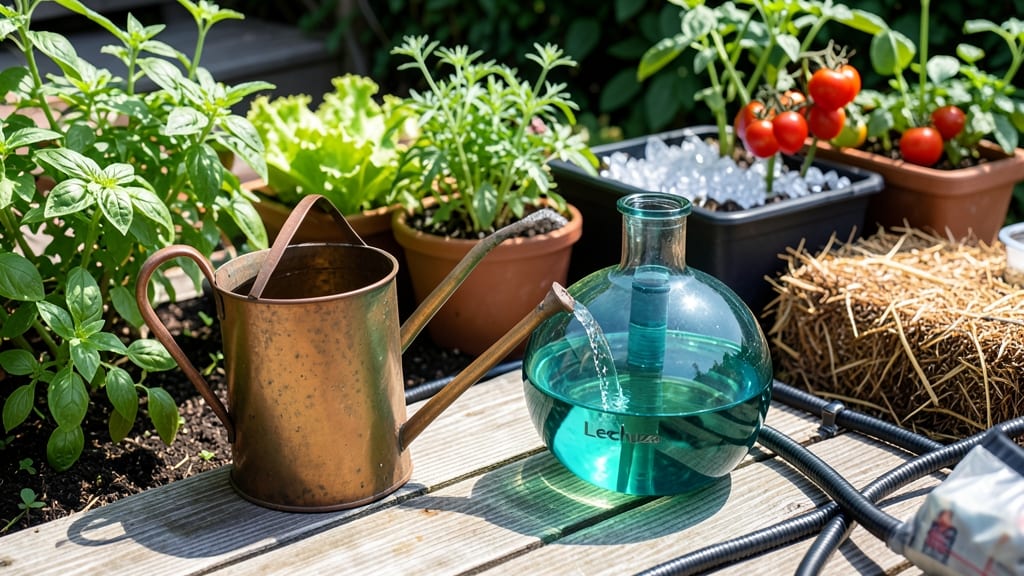
To water your garden when away, you need a system that mimics your care without the daily effort—whether you’re off for a weekend or a week.
Picture this: you return to find your 🌱 General Garden Plants wilting because a sudden heatwave drained the soil, or worse, your self-watering setup sprang a leak while you were gone. The right approach keeps your garden alive and your peace of mind intact.
Automated solutions like drip irrigation or smart timers handle the heavy lifting, but they come with upfront costs and setup headaches. On the flip side, DIY hacks—like buried clay pots or repurposed plastic bottles—cost next to nothing and work surprisingly well for short trips.
Below, I break down the best methods for your USDA Zone 6a garden, from high-tech setups to no-fuss tricks, plus how long your plants can actually survive without water. No more guessing—just reliable hydration while you’re away.


Best automatic watering systems for long-term garden care
When you're planning a vacation or busy trip, your garden shouldn't suffer from neglect. Automatic watering systems are game-changers, delivering precise hydration to keep your vegetables, flowers, and herbs thriving without daily effort.
These systems range from simple setups to high-tech solutions, each with unique benefits depending on your garden's needs.
I've tested the most effective options—drip irrigation, soaker hoses, smart sprinklers, and self-watering containers—to help you choose the best fit. Whether you're away for a weekend or a month, these systems ensure your garden stays lush and healthy while you're gone.
Let's explore how each works and which plants they suit best.
For a quick comparison, here's how these systems stack up:
| System Type | Best For | Watering Method | Setup Difficulty | Cost Range | Best Plants |
|---|---|---|---|---|---|
| Drip Irrigation | Vegetable gardens, raised beds | Slow, targeted water delivery | Moderate (requires tubing) | $50-$200 | Tomatoes, peppers, herbs |
| Soaker Hoses | Flower beds, shrubs | Absorbs water along length | Easy (connects to hose) | $20-$80 | Roses, perennials, annuals |
| Smart Sprinklers | Large lawns, mixed gardens | Programmable spray patterns | Moderate (app setup) | $150-$400 | Grass, ground covers, shrubs |
| Self-Watering Containers | Potted plants, balconies | Reservoir-based hydration | Easy (plug-and-play) | $15-$50 per container | Herbs, succulents, small veggies |
Drip irrigation is my top recommendation for vegetable gardens. It delivers water directly to the roots, reducing waste and preventing fungal diseases caused by wet foliage. These systems use a network of tubing with emitters that slowly release water, making them perfect for tomatoes, peppers, and herbs that need consistent moisture.
For flower beds and shrubs, soaker hoses are a budget-friendly alternative. These porous hoses absorb water and release it gradually along their length. They're ideal for roses, perennials, and annuals that prefer gentle hydration.
The setup is simple—just connect the hose to your water source and lay it along the garden bed.
If you have a larger garden with both plants and lawn, smart sprinklers offer the most convenience. These Wi-Fi-enabled systems let you control watering schedules via an app, adjusting for rain or your return date.
They're perfect for ground covers, shrubs, and grassy areas, though they may overwater delicate plants like herbs.
Self-watering containers are ideal for balcony gardens or potted plants. These containers have a built-in reservoir that slowly feeds water to the roots. They're perfect for succulents, herbs, and small vegetables like lettuce or spinach. The best part? You can fill the reservoir before you leave and forget about watering for days.
When choosing a system, consider your garden's size, plant types, and your budget. For weekend trips, a simple soaker hose or self-watering container may suffice.
For longer vacations (1-2 weeks), drip irrigation or smart sprinklers provide more reliable coverage. Always mulch before leaving to retain moisture and reduce evaporation.
Pro tip: Test your system before your trip by running it for a full day. Check for leaks, uneven water distribution, or clogged emitters. Adjust as needed to ensure every plant gets the right amount of water.
With the right setup, your garden will look as vibrant as if you were there every day.
No matter which system you choose, your plants will thank you when you return to a lush, thriving garden. Happy gardening! 🌱
DIY watering hacks to save money and keep plants alive
When you're on a tight budget or prefer hands-off solutions without buying fancy equipment, DIY watering hacks are your secret weapon. These clever, low-cost methods work wonders for weekend trips or even short vacations, keeping your 🌱 General Garden Plants hydrated in USDA Zone 6a without breaking the bank.
The best part? Most use items you already have lying around the house.
Unlike automated systems, these tricks rely on capillary action, evaporation, or gravity to deliver moisture slowly. They’re perfect for small gardens, container plants, or supplementing your existing watering setup.
Below, I’ll show you how to set up three of my favorite no-tech solutions—buried clay pots, plastic bottle drip systems, and capillary matting—with step-by-step instructions so you can leave your garden worry-free.
💧 Step-by-Step DIY Watering Systems
- 1. Buried Clay Pot System
Best for: Flower beds, shrubs, and perennials
Materials: Unglazed clay pots, sand, water- Dig small holes near your plants (about 6 inches deep).
- Fill each pot halfway with sand to act as a wick.
- Place the pot in the hole, leaving the top exposed.
- Fill the pot with water before leaving—it’ll slowly seep into the soil.
- 2. Plastic Bottle Drip System
Best for: Potted plants, herbs, and small veggies
Materials: Clean plastic bottles, hammer, pushpin- Poke small holes in the bottle cap and sides using a hammer and pushpin.
- Fill the bottle with water (leave 1-2 inches empty to prevent overflow).
- Place the bottle upside-down in the soil, near the plant’s roots.
- Water will drip out slowly over 1-2 weeks, depending on bottle size.
- 3. Capillary Matting for Containers
Best for: Self-watering pots, hanging baskets
Materials: Felt or thick fabric, water reservoir- Cut a piece of felt or fabric to fit inside your container’s base.
- Place the container on top of a shallow tray or bucket filled with water.
- The fabric will draw water upward via capillary action, keeping roots moist.
- Refill the reservoir every 3-5 days for longer trips.
Pro Tip: Combine these methods for maximum coverage. For example, use buried clay pots for your roses and plastic bottles for herbs in pots.
For USDA Zone 6a, where summers can be hot and dry, these DIY methods work best when paired with mulch. Spread a 2-3 inch layer of straw or wood chips around your plants to lock in moisture and keep roots cool.
This extends the time between waterings, making your DIY system even more effective. Test your setup a few days before your trip by monitoring soil moisture—adjust the number of bottles or pots if needed.
One common mistake is overfilling containers or bottles, which can lead to root rot or wasted water. Always leave a small air gap in plastic bottles and avoid burying clay pots too deep—they need to stay partially exposed to function properly.
If you’re away for more than a week, consider adding a second bottle or pot to high-demand plants like tomatoes or peppers.
These hacks are ideal for budget-conscious gardeners or those who prefer minimal setup. While they won’t replace a full drip irrigation system for large gardens, they’re perfect for supplementing care or handling small spaces.
Plus, they teach you how water retention works, helping you design even smarter long-term solutions. Give them a try, and you’ll return to a garden that’s still standing tall and proud! 🌿