
Landscaping
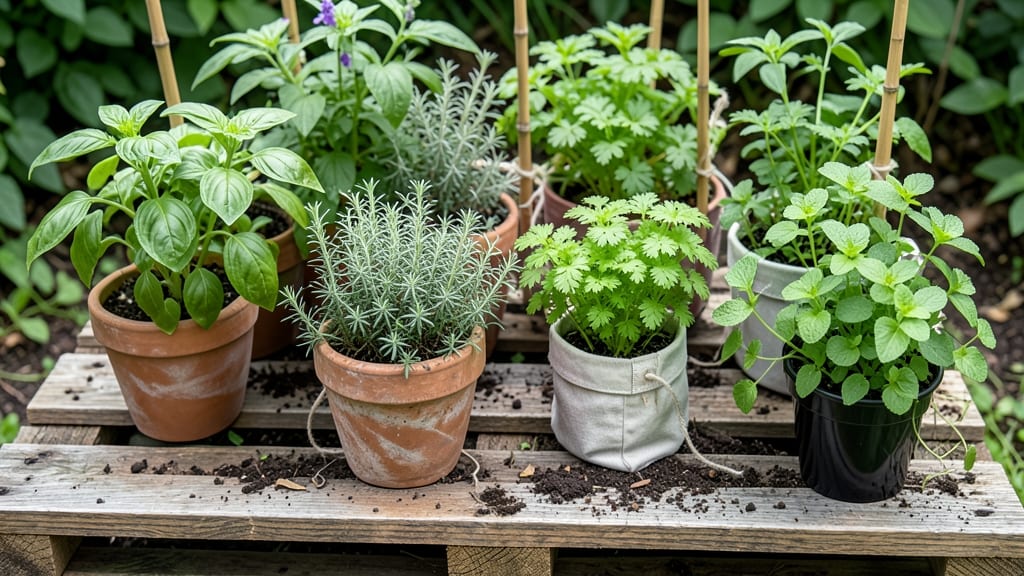
A pallet gardening table turns scrap wood into a functional, space-saving raised bed that’s perfect for herbs, veggies, or flowers—no fancy tools required.
Picture this: a sturdy, customizable planter that fits snugly on a balcony, patio, or even a small backyard, all while giving your 🌱 General Pallet Garden Plants the ideal growing conditions.
No more struggling with soil quality or bending over to tend to your garden—just a raised, easy-to-access bed that’s built in under 2 hours.
Whether you’re a beginner or a seasoned gardener, this project is a game-changer for small spaces, urban yards, or anyone looking to repurpose materials sustainably. Below, I’ll walk you through the exact steps, from selecting the right pallets to adding creative touches like wheels or paint for a polished look.
By the end, you’ll have a durable, stylish gardening table that not only saves space but also gives your plants the perfect home—all while keeping your budget (and your back) happy.
Step-by-step pallet gardening table construction guide with free plans
Building a pallet gardening table is a rewarding weekend project that transforms recycled materials into a functional, space-saving garden.
Whether you're growing herbs on your balcony or vegetables in your backyard, this guide walks you through every step—from selecting the right pallets to adding finishing touches for weather resistance. The best part? You can complete this project in under 2 hours with basic tools and minimal cost.
Before starting, gather your materials: two heat-treated pallets (48" x 40"), outdoor screws (2.5" to 3"), a drill, sandpaper, and non-toxic wood sealer or paint. For drainage, you’ll need landscape fabric and small rocks. Safety first!
Wear gloves and a mask when sanding to avoid wood dust inhalation. This guide assumes you’re building a simple single-tier table, but you can easily adapt it for vertical or tiered designs later.
Step-by-Step Pallet Gardening Table Construction
- 1 Prep the Pallets: Sand down rough edges and remove any nails or staples. Check for cracks or rot—discard damaged pallets. Use a pallet identifier (HT for heat-treated) to ensure safety.
- 2 Create Drainage Holes: Drill 1/2-inch holes in the bottom of each pallet, spaced 6 inches apart. Line the bottom with landscape fabric to prevent soil from washing out.
- 3 Assemble the Base: Place the two pallets parallel to each other, leaving a 12-inch gap between them for stability. Use 2x4 lumber as supports underneath to elevate the table and improve airflow.
- 4 Secure the Structure: Pre-drill holes and attach the pallets to the 2x4 supports using 3-inch deck screws. Add corner braces for extra stability, especially if your table will be mobile or wind-exposed.
- 5 Add Finishing Touches: Apply a non-toxic wood sealer or paint to protect against moisture and UV rays. Let it dry completely (24 hours) before adding soil. For a rustic look, skip paint and use linseed oil.
- 6 Fill with Soil: Use a mix of topsoil, compost, and perlite (60/30/10 ratio) for optimal drainage. Leave a 1-inch gap at the top to prevent spills during watering.
For a mobile gardening table, attach wheels to the bottom of the 2x4 supports. This lets you move your garden to follow the sun’s path or protect it during rain.
If you’re growing heavy plants like tomatoes, reinforce the structure with additional screws or metal brackets. Always place your table on a level surface to avoid tipping.
Once your table is built, consider adding vertical pockets for herbs or a small trellis for climbing plants like cucumbers or beans. These upgrades maximize your growing space without taking up extra room.
Remember to rotate your plants every few weeks to ensure even sunlight exposure, which is critical for healthy growth.
To extend your table’s lifespan, inspect it annually for loose screws or rotten wood. Replace damaged sections immediately to prevent larger issues. With proper care, your pallet gardening table can last 5-10 years, giving you a sustainable and stylish way to grow your favorite plants year after year.
Pro tip: Label your plants with biodegradable tags or a small chalkboard attached to the side. This keeps your garden organized and makes it easy to track what’s thriving—and what needs a little extra love and attention.
5 Creative pallet gardening table design ideas for small spaces
When space is limited but your green thumb isn’t, a pallet gardening table becomes your best friend. These versatile designs maximize vertical space while keeping your plants within easy reach—perfect for balconies, patios, or even tiny urban yards.
The best part? You can customize each design to fit your plants, style, and available square footage without breaking the bank.
From vertical pallet towers that climb the wall to mobile herb carts you can roll to the kitchen, these ideas prove that small spaces can grow big harvests. Whether you're growing herbs, veggies, or flowers, these configurations ensure every inch counts.
Let’s explore five innovative setups that’ll transform your outdoor (or indoor!) space into a thriving garden oasis.
-
1. Vertical Pallet Tower
Stack two pallets vertically with 3-4 inches between them, creating pockets for succulents or herbs. Mount it against a fence or wall to save floor space. Add drainage holes at the bottom and use lightweight cactus soil for drought-resistant plants. -
2. Tiered Herb Garden
Build a 3-tiered pallet table with each level slightly smaller than the last. Plant basil, thyme, and parsley on the top tier for easy access, and rosemary or lavender on the bottom. Add casters to the base for mobility. -
3. Mobile Pallet Cart
Attach 4 wheels to a single pallet and turn it into a rolling garden cart. Perfect for container veggies like tomatoes or peppers, this design lets you move your garden to follow the sun or protect it from rain. -
4. Hanging Pallet Planter
Suspend a single pallet horizontally from a pergola or ceiling using sturdy straps. Ideal for trailing plants like strawberries or nasturtiums, this setup adds height without taking up ground space. -
5. Corner Pallet Bench
Cut a pallet in half lengthwise and place the two pieces at a 90-degree angle to form an L-shaped bench. The open side creates a planter, while the seat doubles as storage for gardening tools. Paint it weather-resistant for longevity.
Each of these designs can be adjusted to fit your space and style. For example, swap out wheels for a fixed base if you prefer stability, or add LED grow lights for indoor setups. The key is to think vertically and multi-functionally—your plants (and your back) will thank you.
Pro tip: Before assembling, treat your pallets with non-toxic sealant to protect against moisture and pests. Line the bottom with landscape fabric to prevent soil from spilling out, and always use well-draining soil to keep roots happy.
With these designs, you’re not just gardening—you’re creating a functional art piece that grows with you.
Which design speaks to you? Whether you’re a herb enthusiast, a veggie lover, or a flower fanatic, there’s a pallet gardening table setup that’s perfect for your small space. Grab some pallets, get creative, and watch your garden grow—literally and figuratively!