
Container Gardens
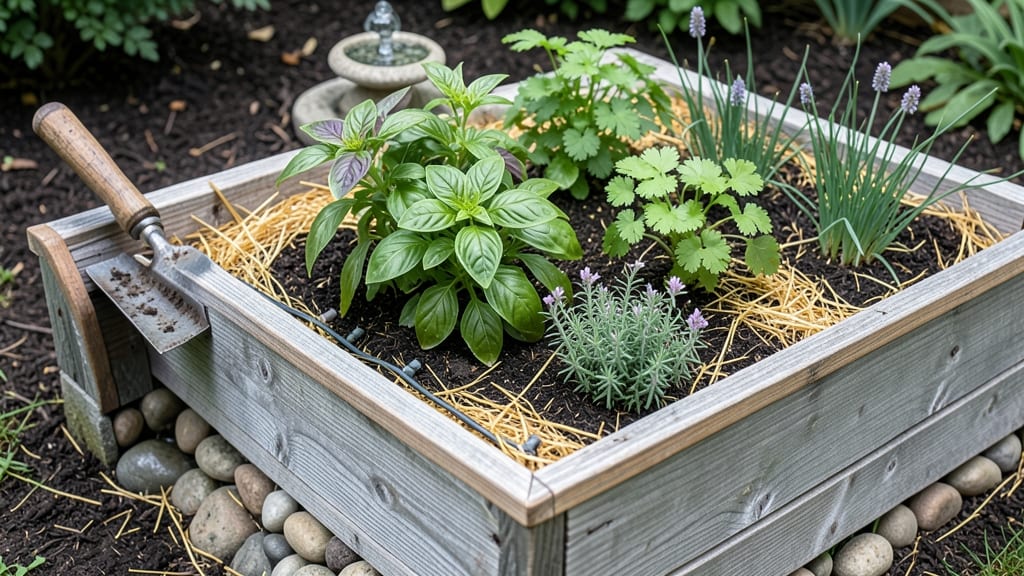
Transforming water troughs into raised garden beds is a game-changer for small yards, offering a space-saving way to grow lush plants 🌱 without the footprint.
Picture this: a cozy corner of your patio overflowing with herbs, veggies, or flowers—all tucked into repurposed troughs that double as stylish planters. No more wrestling with limited square footage or struggling to fit a garden into tight spaces.
These clever containers hold soil better than traditional beds, retain moisture efficiently, and even improve drainage. Plus, they’re perfect for drought-tolerant plants that thrive with minimal fuss.
Below, I’ll walk you through 5 creative layouts to maximize your space, from vertical stacks to tiered setups, plus the best plants to keep your trough garden flourishing all season.


How to convert water troughs into functional raised garden beds
Transforming old water troughs into raised garden beds is one of the most creative and space-efficient ways to grow plants in small yards. These sturdy containers provide excellent drainage, prevent soil compaction, and create a defined growing space that’s perfect for herbs, vegetables, and flowers.
The best part? You’re recycling materials while adding charm to your garden with a rustic, industrial look.
Before you start, choose food-grade plastic, metal, or sturdy plastic troughs that are at least 12 inches deep to accommodate root growth. Avoid treated wood troughs unless they’re labeled safe for edible plants.
Once you’ve selected your trough, the next steps focus on preparation, drainage, and soil quality—all critical for healthy plant growth.
-
Step 1: Clean Thoroughly
Scrub the trough with soapy water and a stiff brush to remove dirt, algae, or debris. Rinse with vinegar or bleach solution (1:10 ratio) for disinfection. Let it dry completely in the sun to kill any remaining bacteria or fungi. -
Step 2: Drill Drainage Holes
Use a power drill with a 1/4-inch bit to create drainage holes along the bottom of the trough. Space them 6-8 inches apart to prevent waterlogging. For metal troughs, pre-drill to avoid cracking. -
Step 3: Add a Protective Lining
Line the trough with landscape fabric to block weeds and improve soil retention. Secure it with staples or landscape pins. For plastic troughs, a thin layer of cardboard can also work to prevent soil from leaking through drainage holes. -
Step 4: Fill with Quality Soil
Use a well-draining potting mix blended with compost (50/50 ratio). Avoid garden soil, as it compacts easily and drains poorly. Fill the trough 2 inches below the rim to allow for watering and mulch. -
Step 5: Select Compatible Plants
Choose shallow-rooted plants like basil, lettuce, strawberries, or succulents that thrive in limited soil volume. Avoid heavy feeders like tomatoes or corn, which need deeper roots and more nutrients. -
Step 6: Water and Mulch
Water the soil until it’s evenly moist but not soggy. Top with 2 inches of mulch (straw or shredded bark) to retain moisture, suppress weeds, and regulate soil temperature.
Once your water trough garden bed is set up, place it in a sunny spot that receives at least 6 hours of sunlight daily. Most herbs and leafy greens thrive in partial shade, while vegetables like peppers and tomatoes need full sun.
Monitor soil moisture closely, as troughs dry out faster than in-ground beds.
Pro Tip: Group troughs together to create a cohesive garden display and make maintenance easier. Add saucer-style trays underneath to catch excess water and prevent soil erosion. Over time, you’ll notice faster growth and higher yields compared to traditional in-ground planting, especially in urban or small-space gardens.
If you’re using metal troughs, consider adding a layer of sand at the bottom to protect roots from heat conduction. For plastic troughs, ensure they’re UV-stabilized to prevent cracking over time.
With minimal upkeep, your water trough raised garden will become a low-maintenance, high-reward feature in your outdoor space.
Start with one or two troughs to test your setup, then expand as you gain confidence. The key to success lies in proper drainage, soil quality, and plant selection—three factors that work together to create a thriving micro-garden in even the smallest of spaces. Happy planting! 🌱
5 Space-saving water trough garden layouts for small yards
Small yards don't mean small gardens! With water trough raised garden beds, you can transform limited space into a lush, productive oasis. These creative layouts maximize vertical space while keeping maintenance simple. Whether you have a balcony, patio, or corner spot, there's a design that fits your needs.
One of my favorite layouts is the vertical stacking system, which turns multiple troughs into a tiered garden. This approach not only saves floor space but also creates a stunning visual display. Plus, it's perfect for herbs, succulents, and shallow-rooted veggies that thrive in contained spaces.
🌱 5 Creative Water Trough Garden Layouts
- 1. Vertical Stacking: Mount 2-3 troughs vertically using brackets. Plant dwarf tomatoes at the top and herbs like basil at the bottom for easy access.
- 2. Tiered Corner Garden: Place troughs at different heights along a fence or wall. Use the highest level for flowers like marigolds and the lowest for leafy greens.
- 3. Multi-Level Balcony: Combine troughs with hanging planters for a 3D effect. Ideal for strawberries and lettuce that need partial shade.
- 4. Side-by-Side Pathway: Line a walkway with troughs filled with edible flowers and microgreens. Adds greenery while maximizing growing space.
- 5. Under-Staircase Garden: Slide troughs under stairs to create a hidden herb or salad garden. Perfect for bush beans and radishes.
The tiered corner garden is another space-saver that works beautifully in urban settings. By placing troughs at varying heights along a wall or fence, you create a cascading effect that draws the eye upward.
This layout is especially effective for trailing plants like nasturtiums or shallow-rooted veggies that don’t need deep soil.
For those with limited floor space, a multi-level balcony design combines troughs with hanging planters. This approach maximizes every inch of space while adding visual interest. I love using this setup for strawberries and lettuce, which do well in partial shade and don’t require deep soil.
Don’t overlook the side-by-side pathway idea—it’s a fantastic way to add greenery while maximizing growing space. Line your walkway with troughs filled with edible flowers and microgreens. Not only does this create a beautiful, functional path, but it also provides easy access to fresh herbs and greens.
Finally, the under-staircase garden is a genius way to utilize often-wasted space. Slide troughs under stairs to create a hidden garden perfect for herbs, salad greens, or bush beans. It’s out of the way but still accessible, making it ideal for busy gardeners.
With these layouts, you can turn even the smallest yard into a productive, beautiful garden. Experiment with different combinations to find what works best for your space! 🌿