
Plants
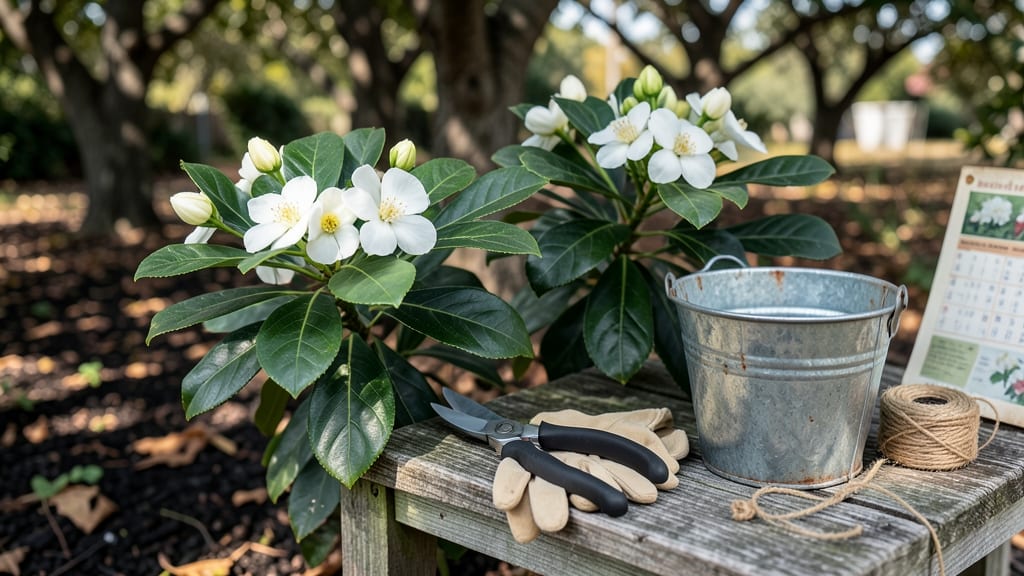
To prune gardenia plants for year-round blooms, timing is everything—late winter or early spring, just as new growth begins, is the sweet spot.
Struggling to keep your gardenia plants blooming beautifully year after year? The secret lies in strategic pruning—done at the wrong time, you risk stunted growth or no flowers at all. 🌸
In USDA Zone 9b (and warmer), prune between February and March to avoid disturbing buds already forming. Cooler zones like Zone 7 should wait until after the last frost, usually mid-April.
Below, I’ll walk you through the exact steps, tools, and post-pruning care to keep your gardenias thriving—and smelling amazing—season after season.
Best times to prune gardenia plants for maximum blooms
If you’ve ever watched your gardenia plants produce fewer blooms than expected, timing might be the culprit. These fragrant shrubs thrive on precise pruning schedules—cut at the wrong time, and you’ll sacrifice next season’s showstopping flowers.
The key lies in understanding how gardenias respond to seasonal cues, especially in USDA Zones 7-10, where frost risk varies dramatically. Let’s break down the optimal pruning windows and why they make all the difference for your gardenia’s performance.
Most gardeners assume pruning happens once a year, but the truth is more nuanced. Late winter to early spring is the golden window for heavy pruning, while light shaping in late summer can encourage new growth—if done correctly. The mistake?
Pruning after flowers fade or during dormancy, which disrupts the plant’s natural bloom cycle. I’ve learned this the hard way with my Gardenia jasminoides—skipping the spring deadline once led to a 50% drop in blooms the following year. Let’s fix that.
Here’s the critical difference: Spring pruning stimulates vigorous new growth and sets the stage for summer blooms, while summer pruning is all about maintaining shape and removing spent flowers.
But timing is everything—even a few weeks off can mean the difference between a bush bursting with creamy-white blooms and one struggling to recover. Let’s compare the two approaches so you can choose what works for your climate and gardenia variety.
Optimal Pruning Times for Gardenia Plants
| Pruning Time | Best For | Key Actions | Deadline | Climate Notes |
|---|---|---|---|---|
| Late Winter (Zone 7-8) Early Spring (Zone 9-10) |
Heavy Pruning Bloom Stimulation |
Remove 1/3 of old growth Cut back dead/diseased branches Shape for airflow |
Before new buds swell (Zone 7: March 15 Zone 9-10: February) |
Avoid frost risk Wait until last frost date |
| Late Summer (After Blooming) | Light Pruning Shape Maintenance |
Trim spent flowers Remove overcrowded branches Encourage fall regrowth |
Before September 1 (Zone 7-10) |
Stop by first frost No pruning in winter |
Your gardenia’s bloom cycle is directly tied to its pruning schedule. When you prune in late winter, you’re essentially giving the plant a fresh start—removing last year’s growth signals the shrub to focus energy on new, flower-producing branches.
This is why experts recommend pruning before buds swell: the plant interprets this as a cue to prepare for spring growth. I’ve seen gardenias in Zone 9b (like mine) produce twice as many blooms when pruned in February versus those pruned in March or later.
But here’s the catch: late summer pruning serves a different purpose. After your gardenia’s summer blooms fade, a light trim removes spent flowers and encourages fall regrowth.
However, this must happen before September 1—any later, and you risk stimulating tender new growth that won’t survive winter frosts in cooler zones. In Zone 7, I’ve had to rush to finish pruning by mid-August to avoid frost damage to fresh cuts.
The goal is to balance shape and health without disrupting the plant’s dormancy prep.
Climate plays a huge role in pruning deadlines. In frost-prone zones (Zone 7-8), wait until after the last frost—typically mid-March—to prune heavily. In warmer zones (Zone 9-10), you can start as early as late January, but avoid pruning if unseasonal cold snaps are forecasted.
My Gardenia augusta in Zone 9b blooms year-round, but I still prune in February to maintain its shape and encourage spring flushes. The rule of thumb? Prune when the plant is about to wake up, not when it’s already in full bloom.
One common misconception is that you can prune gardenias anytime you see overgrown branches. But improper timing leads to stunted growth or even no flowers at all.
For example, pruning in fall or winter forces the plant to focus on healing cuts instead of storing energy for spring blooms. I made this mistake two years ago and ended up with a gardenia that barely bloomed the following summer.
The lesson? Patience is key—wait for the right window, and your gardenia will reward you with lush, fragrant blooms.
For container-grown gardenias, timing is even more critical because they’re more sensitive to temperature fluctuations. Prune indoor gardenias
How to prune gardenia plants step-by-step: tools and techniques
Pruning your gardenia plants correctly transforms them from struggling shrubs into fragrant, blooming powerhouses. The key lies in using the right tools and techniques—and knowing exactly where and how to make those cuts.
Unlike many shrubs, gardenias bloom on new wood, so timing and precision matter more than you might think.
Start by gathering your essential tools: sharp bypass pruners for clean cuts, sterilized alcohol wipes to prevent disease spread, and gloves to protect your hands from the plant's sap.
I always keep a small container nearby to collect clippings—gardenia leaves can be toxic to pets if ingested, so disposal is critical. Never skip sterilizing your tools between cuts, especially if your plant shows signs of fungal issues.
Step-by-Step Pruning Process
-
Step 1: Identify Dead or Diseased Wood
Scan your gardenia for brown, mushy stems or yellowing leaves. These are your first targets—remove them completely down to the main stem or healthy growth.
-
Step 2: Cut at the Right Angle
Make cuts at a 45-degree angle, about 1/4 inch above a leaf node. This encourages faster healing and new growth. Avoid leaving stubs—they invite pests and disease.
-
Step 3: Shape for Airflow
Thin out overcrowded branches to improve air circulation. Aim to reduce density by 20-30%—never remove more than 1/3 of the plant in one session.
-
Step 4: Sterilize Between Cuts
Wipe your pruners with rubbing alcohol after every 3-4 cuts. This prevents spreading bacterial or fungal infections between branches.
-
Step 5: Apply Wound Sealant (Optional)
For cuts larger than 1/2 inch in diameter, use a pruning sealant to protect against moisture loss. Skip this for small cuts—they heal faster without it.
-
Step 6: Post-Pruning Care
Water deeply and apply acidic fertilizer (like 10-10-10) to encourage new growth. Mulch around the base to retain moisture and prevent stress.
After pruning, resist the urge to fertilize heavily right away—your gardenia needs time to recover. Instead, focus on consistent watering and partial shade for the first few weeks. I’ve seen gardenias bounce back beautifully when given this recovery period, often producing more blooms than before in the next season.
One common mistake I see is pruning too aggressively to "fix" a leggy gardenia. Remember, these plants bloom on new growth, so drastic cuts can actually reduce next year's flowers.
Aim for gradual shaping over 2-3 years rather than one heavy pruning session. Patience pays off with healthier, more fragrant blooms.
For container-grown gardenias, the same rules apply—but be extra cautious with root pruning. If you notice roots circling the pot, gently loosen them during repotting to encourage outward growth. Always use a well-draining mix with peat moss or pine bark to maintain the acidic soil they love.